Guest Room Before + After with Society Social Peel and Stick Faux Grasscloth Wallpaper
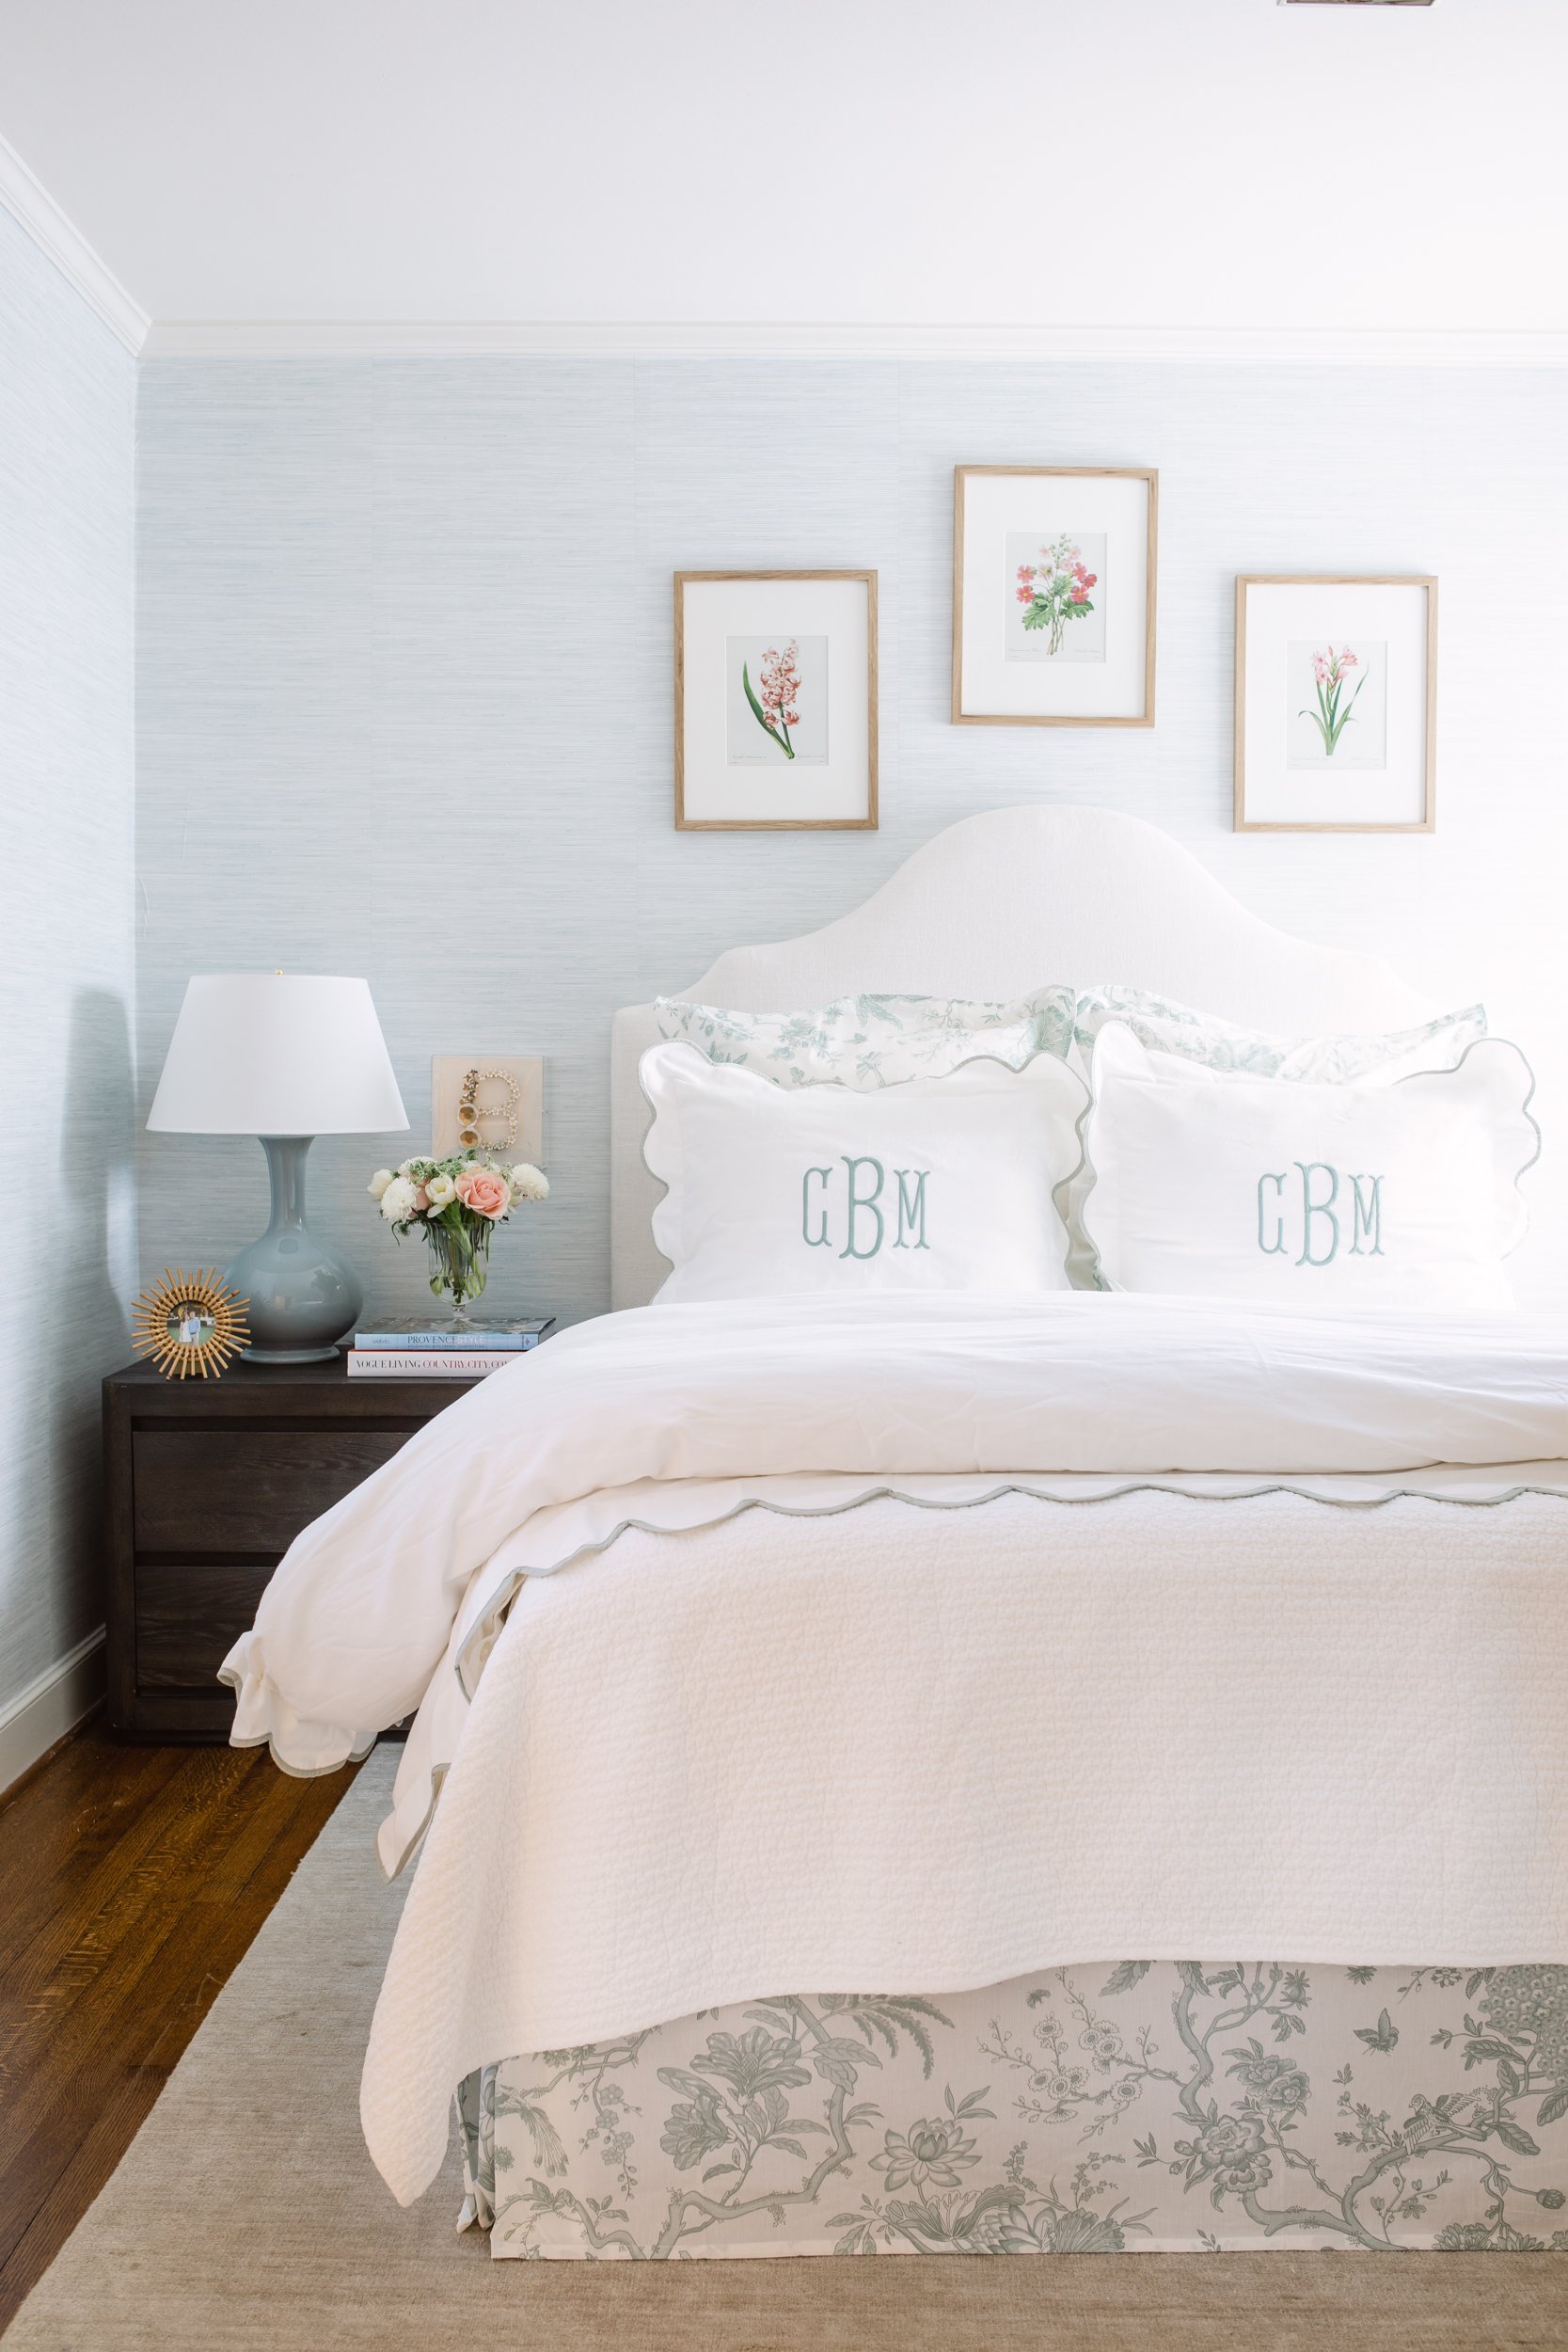
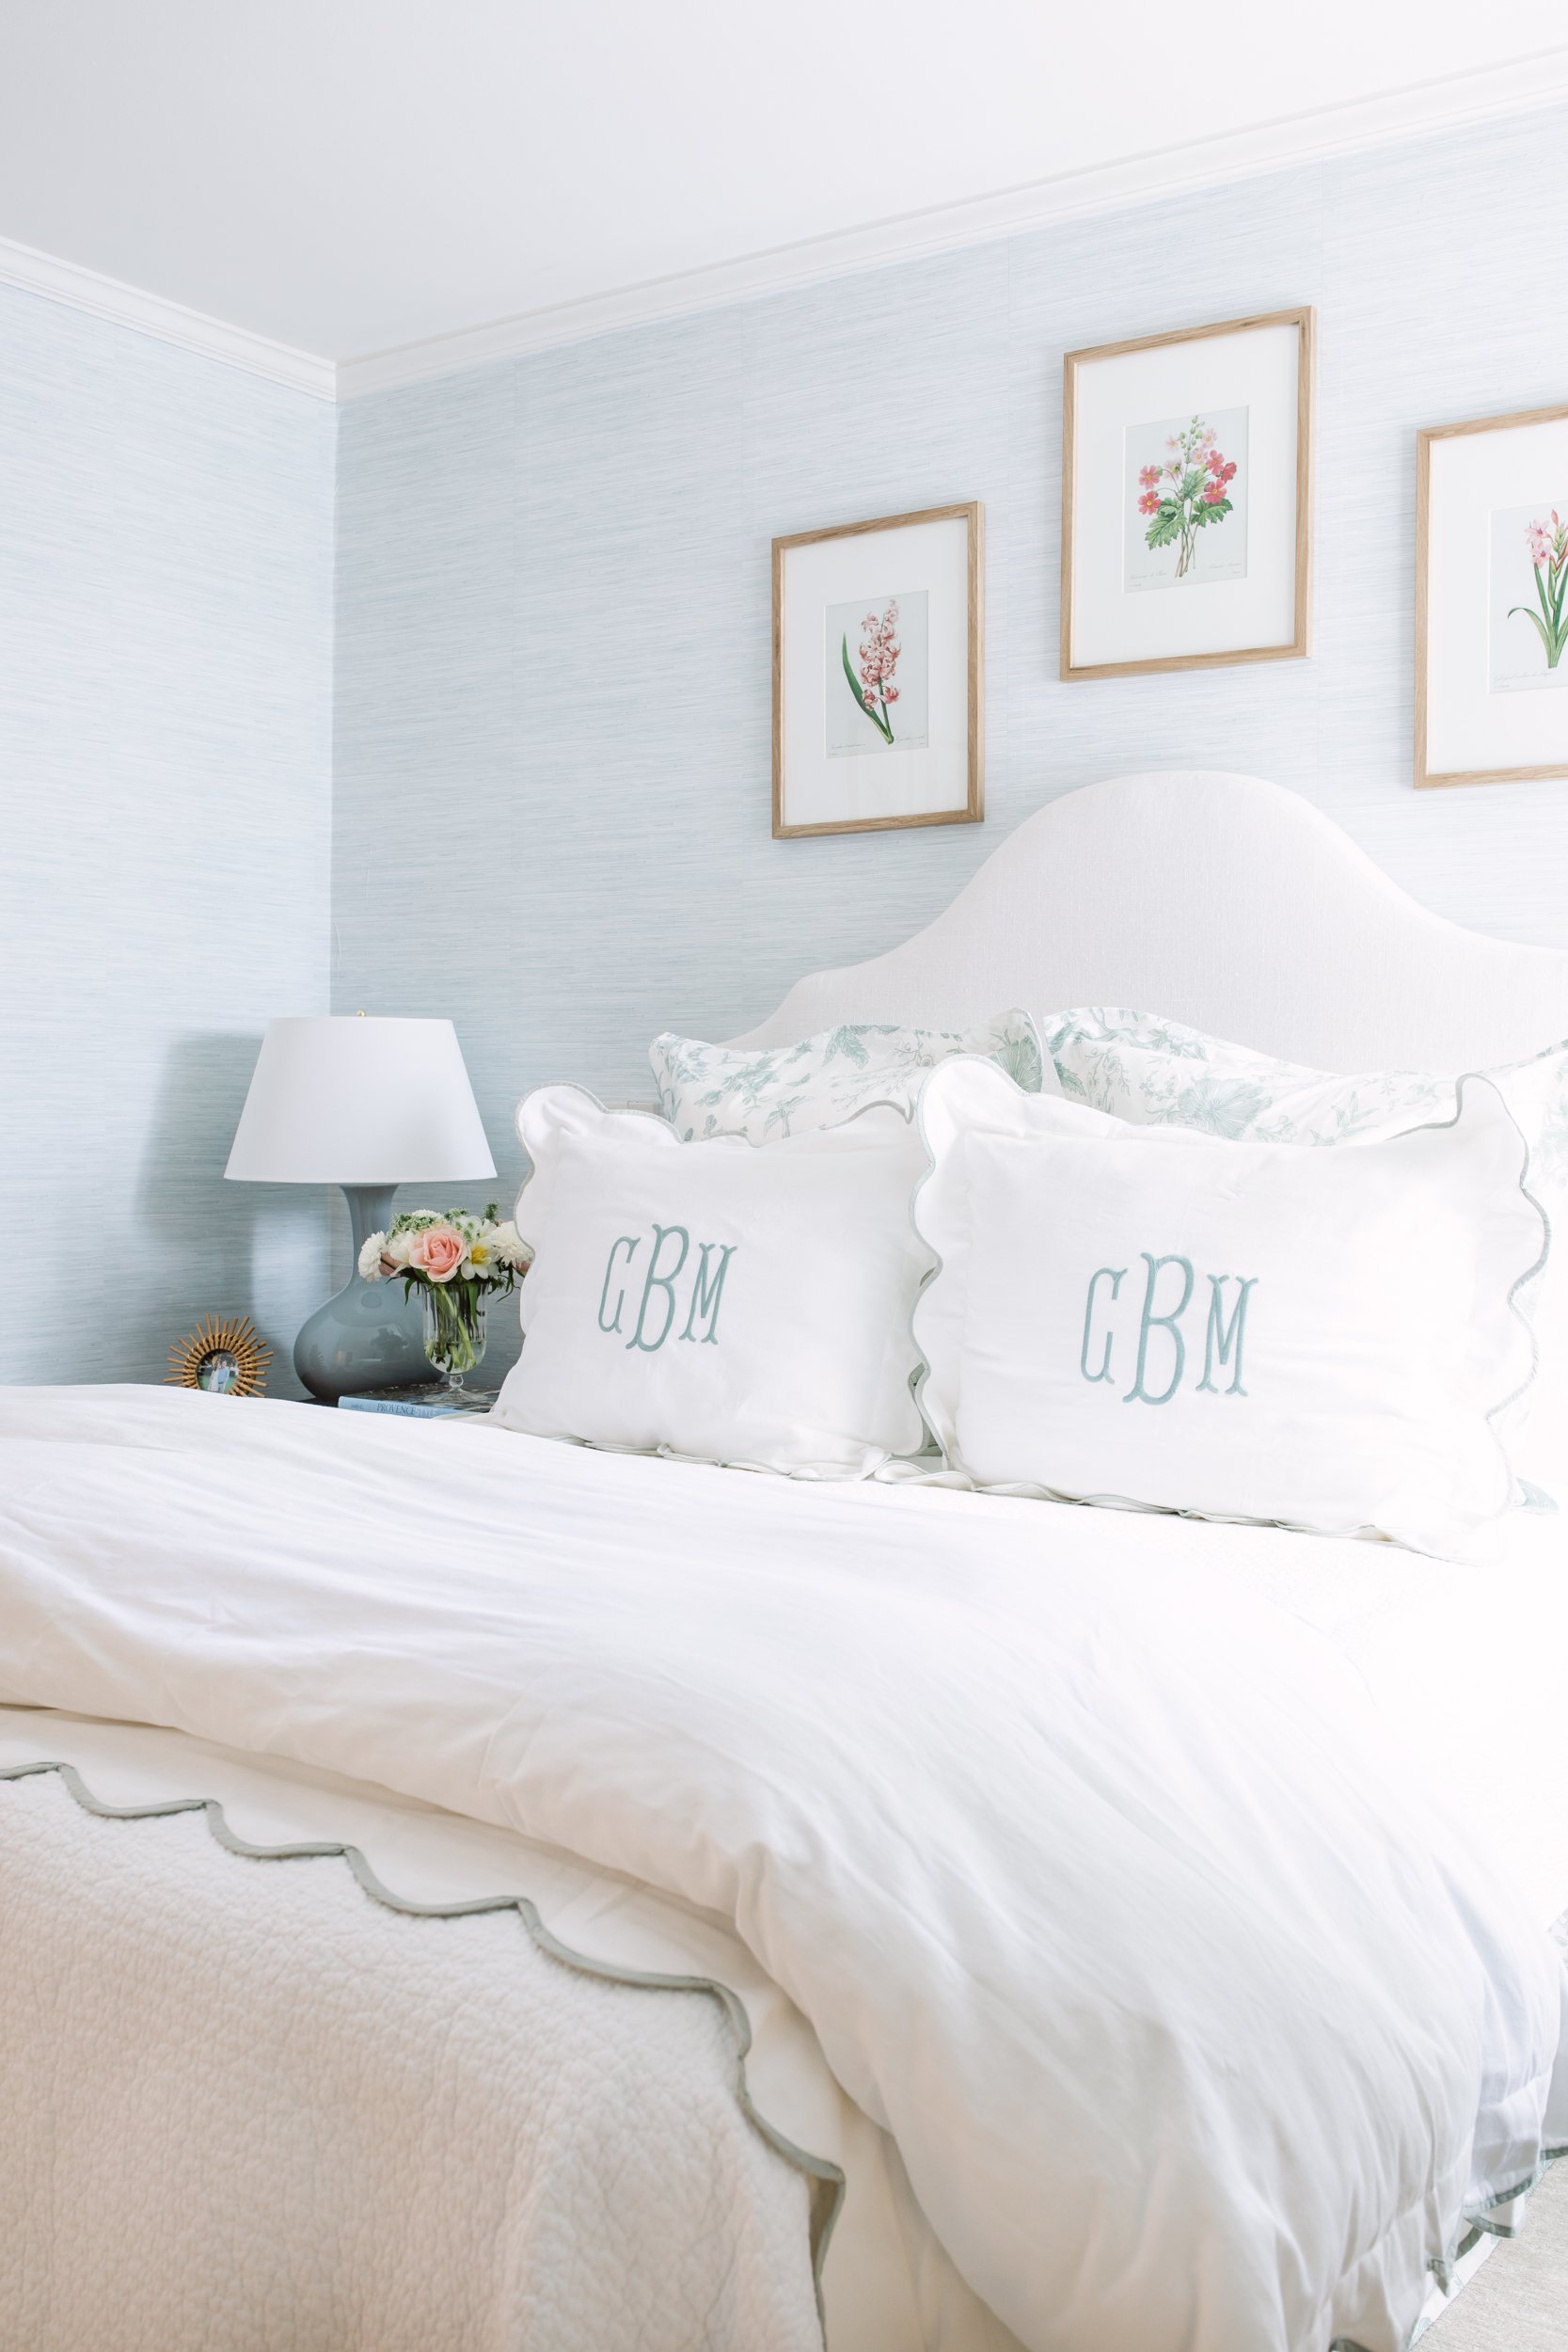
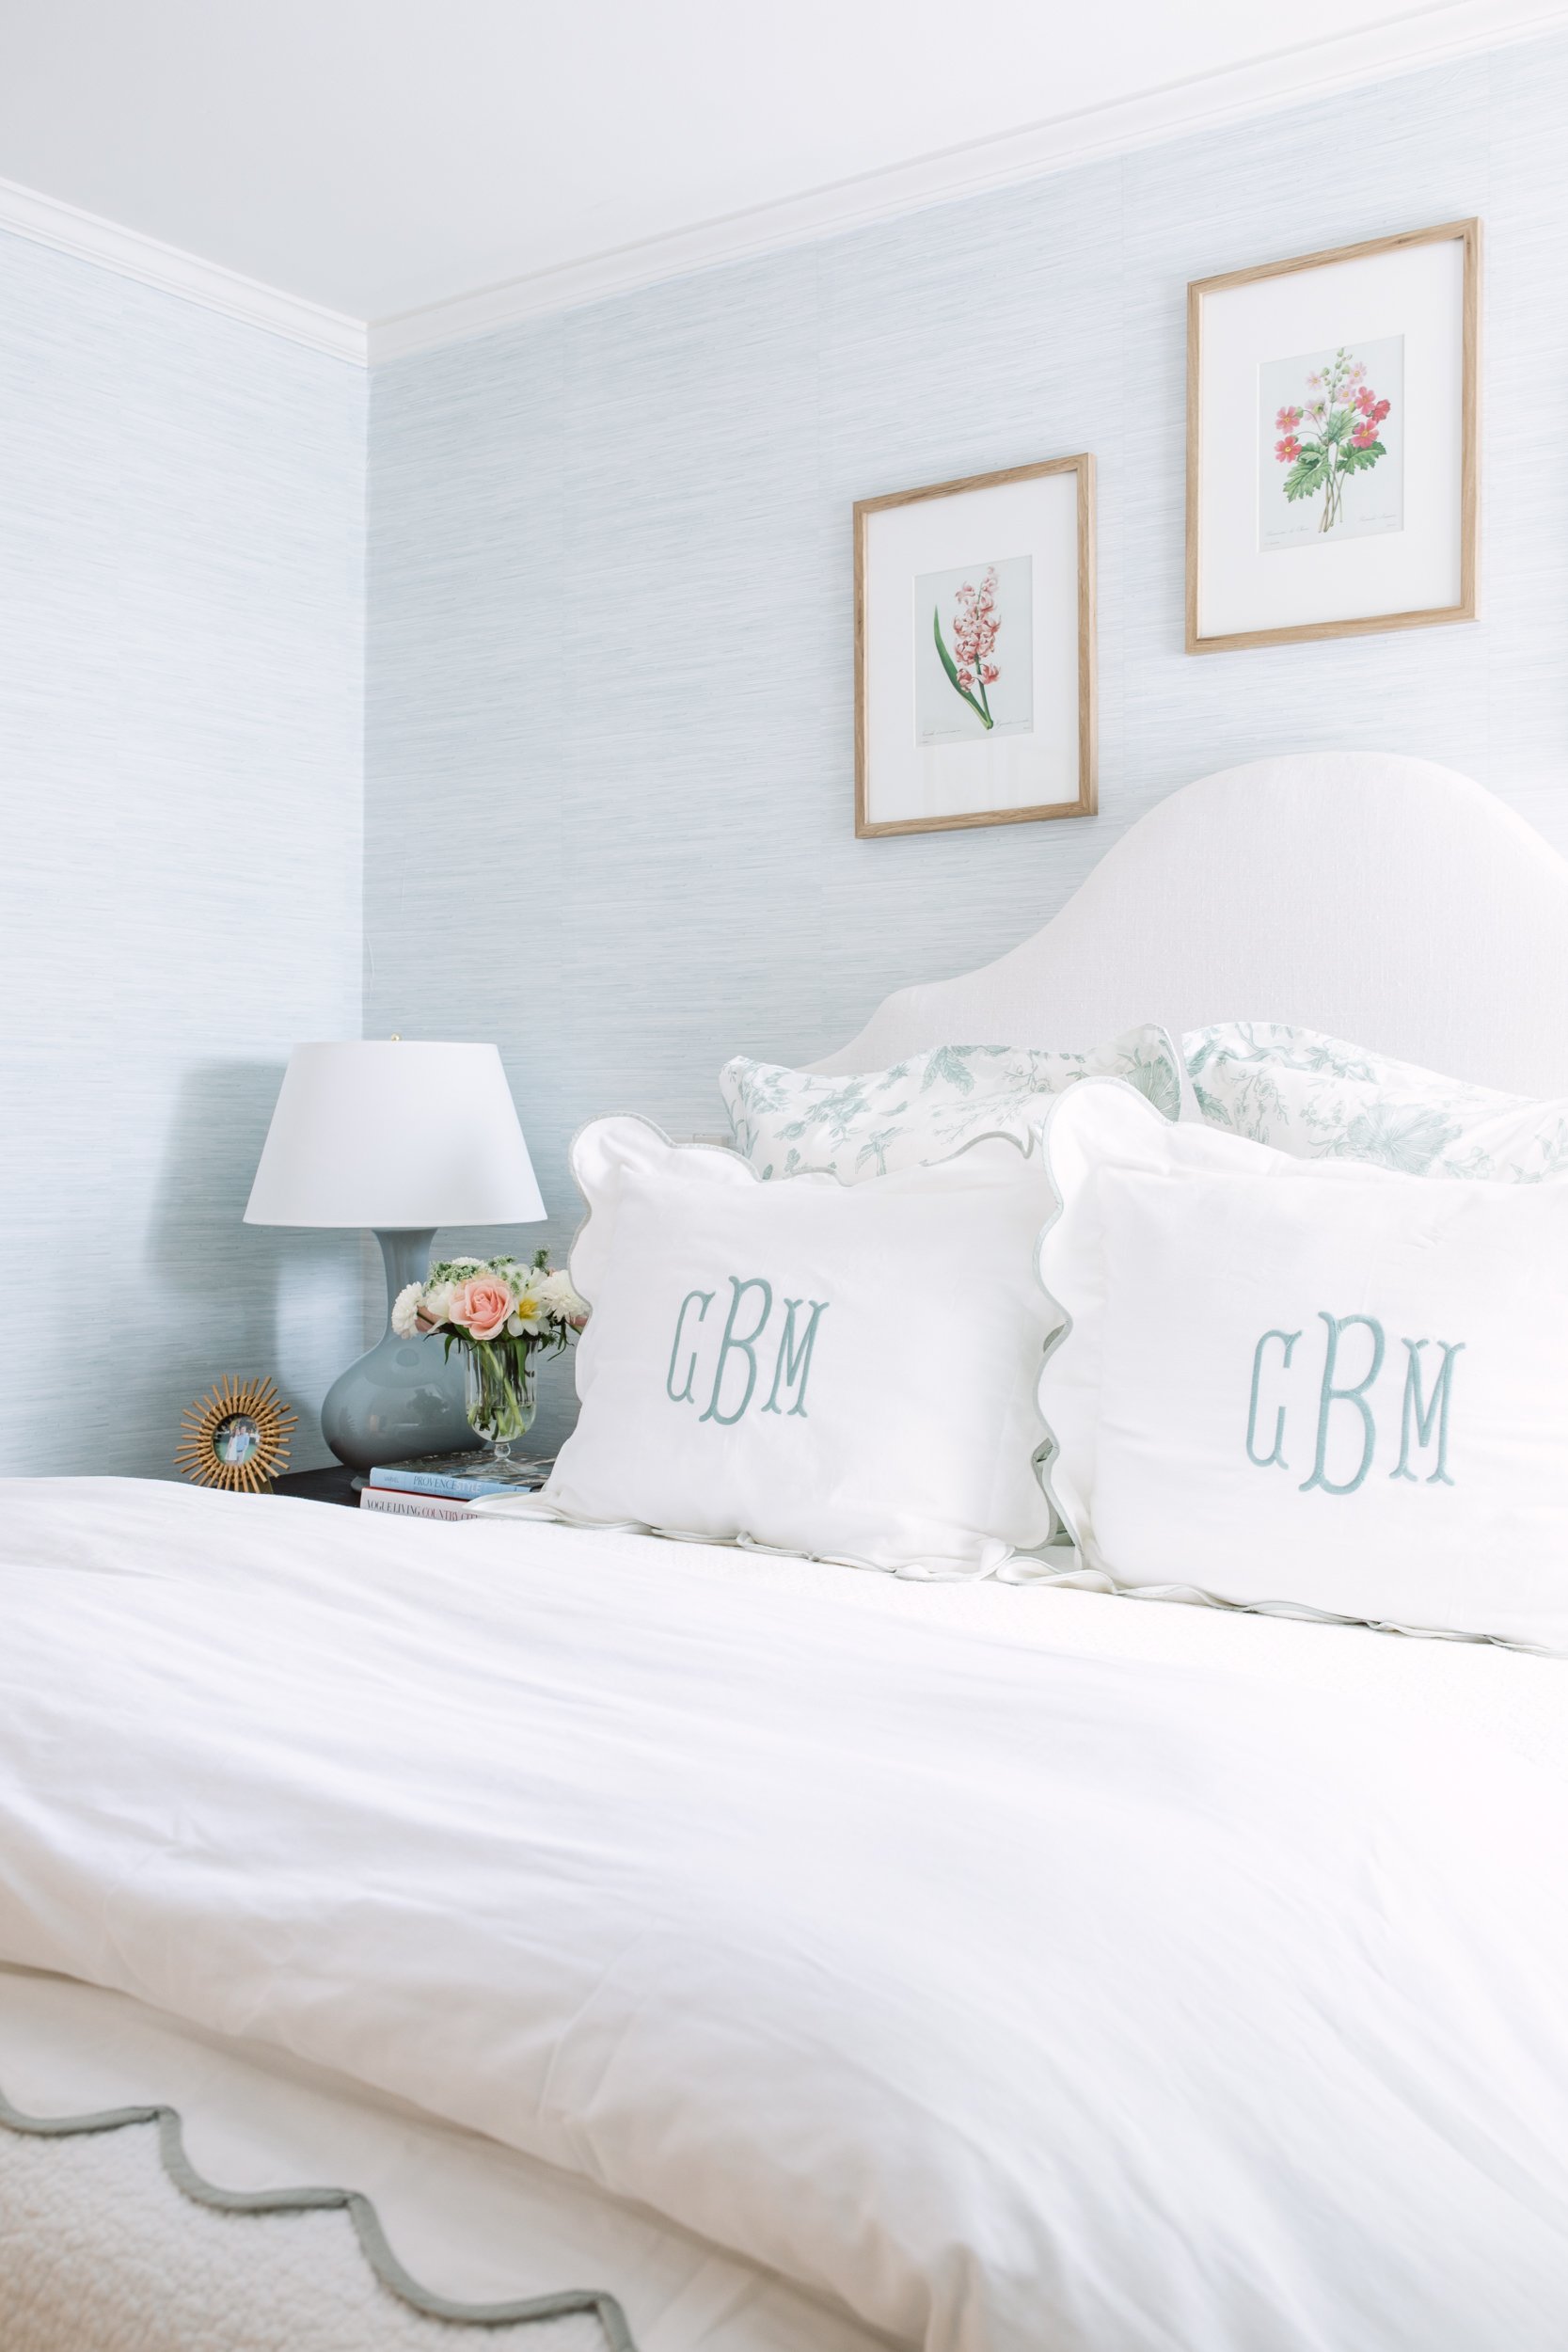


Welcome to our guest room makeover! I have had the best time working on a few DIY projects to bring this room to life lately and excited to share now that most things are complete. The design element that absolutely had the biggest effect on the space is the Peel and Stick Faux Grasscloth Wallpaper from Society Social- which I am now obsessed with! See my reel of the makeover on IG here.
I have always been curious about peel and stick wallpapers and had been a little hesitant to dive in… that was until the Society Social team reached out and asked if I would be up for trying some of the wallpaper from their new collection. I was immediately on board, because our guest room needed some love. The all white walls were begging for color!
It is safe to say I am in love with the outcome, the process couldn’t have been easier, and now I am just trying to decide which room in our house to wallpaper next!
The wallpaper process began by measuring our walls and using the calculator on Society Social’s website to estimate how many rolls we needed to complete the room.
Once the wallpaper arrived, I immediately got to work installing it with a little wallpaper kit I found on Amazon. Peel and stick wallpaper is a little bit like applying an iPhone screen protector… where you have to be sure to not trap air/ create bubbles between the paper and the wall. The little blue smoothing tool in this kit was my best friend while installing.
To apply the paper to the walls, I stood on a step stool where I could comfortably reach the top of the wall where the wall and moulding meet. I would unravel a roll of wallpaper and peel back the sticky part about 3-4 inches. Then I would apply the sticky side of the wallpaper to the top of the wall right where the moulding and wall meet. I peeled back the paper backing and pressed the wallpaper against the wall a few inches at a time and then would smooth over it with the blue smoothing tool to make sure all air bubbles were out. I would not advise peeling off the backing all at once- be sure to do it little by little to avoid air bubbles.
Once I made it to the bottom of the wall, I used an Xacto Knife to cut right at the edge of the moulding.
One of the most important steps to me would be to make sure when you start the next line of wallpaper to overlap about an inch with the previous one- to be sure there are no gaps at all between each column of wallpaper. I found that little trick to save me a lot of time / patience. Otherwise, you have to line up the wallpaper columns 100% precisely and honestly our walls are not perfect (old house love!) so this would have been impossible.
Another tricky thing was wallpaper the corners of the room. I would say get as close as you can with paper on both walls and then patch the actual corner with a narrow strip all the way down. Otherwise, it is really easy to get bubbles trapped in the corners, since the walls of our house are not exactly 90 degrees from floor to ceiling.
All that to say, the project was truly so easy and doable for just about anyone! The entire wallpaper process took me about 3 afternoons (3ish hours each) to complete. We probably could have done it all in one day if we spent a weekend on it but I took it slow and steady!
Below you will find links to all the tools I used, wallpaper source, and all the links to products in our guest room!
The “tools” I used
Step stool for reaching top of walls
Scissors to cut the wallpaper/ backing
Blue smoothing tool from this kit
Xacto Knife from this kit
Wallpaper Details:
Wallpaper: Society Social (color: Whisper Blue)
Smoothing Tool Kit: Amazon
More Room Details + Links:
Bed: Restoration Hardware
Rug: Annie Selke (similar)
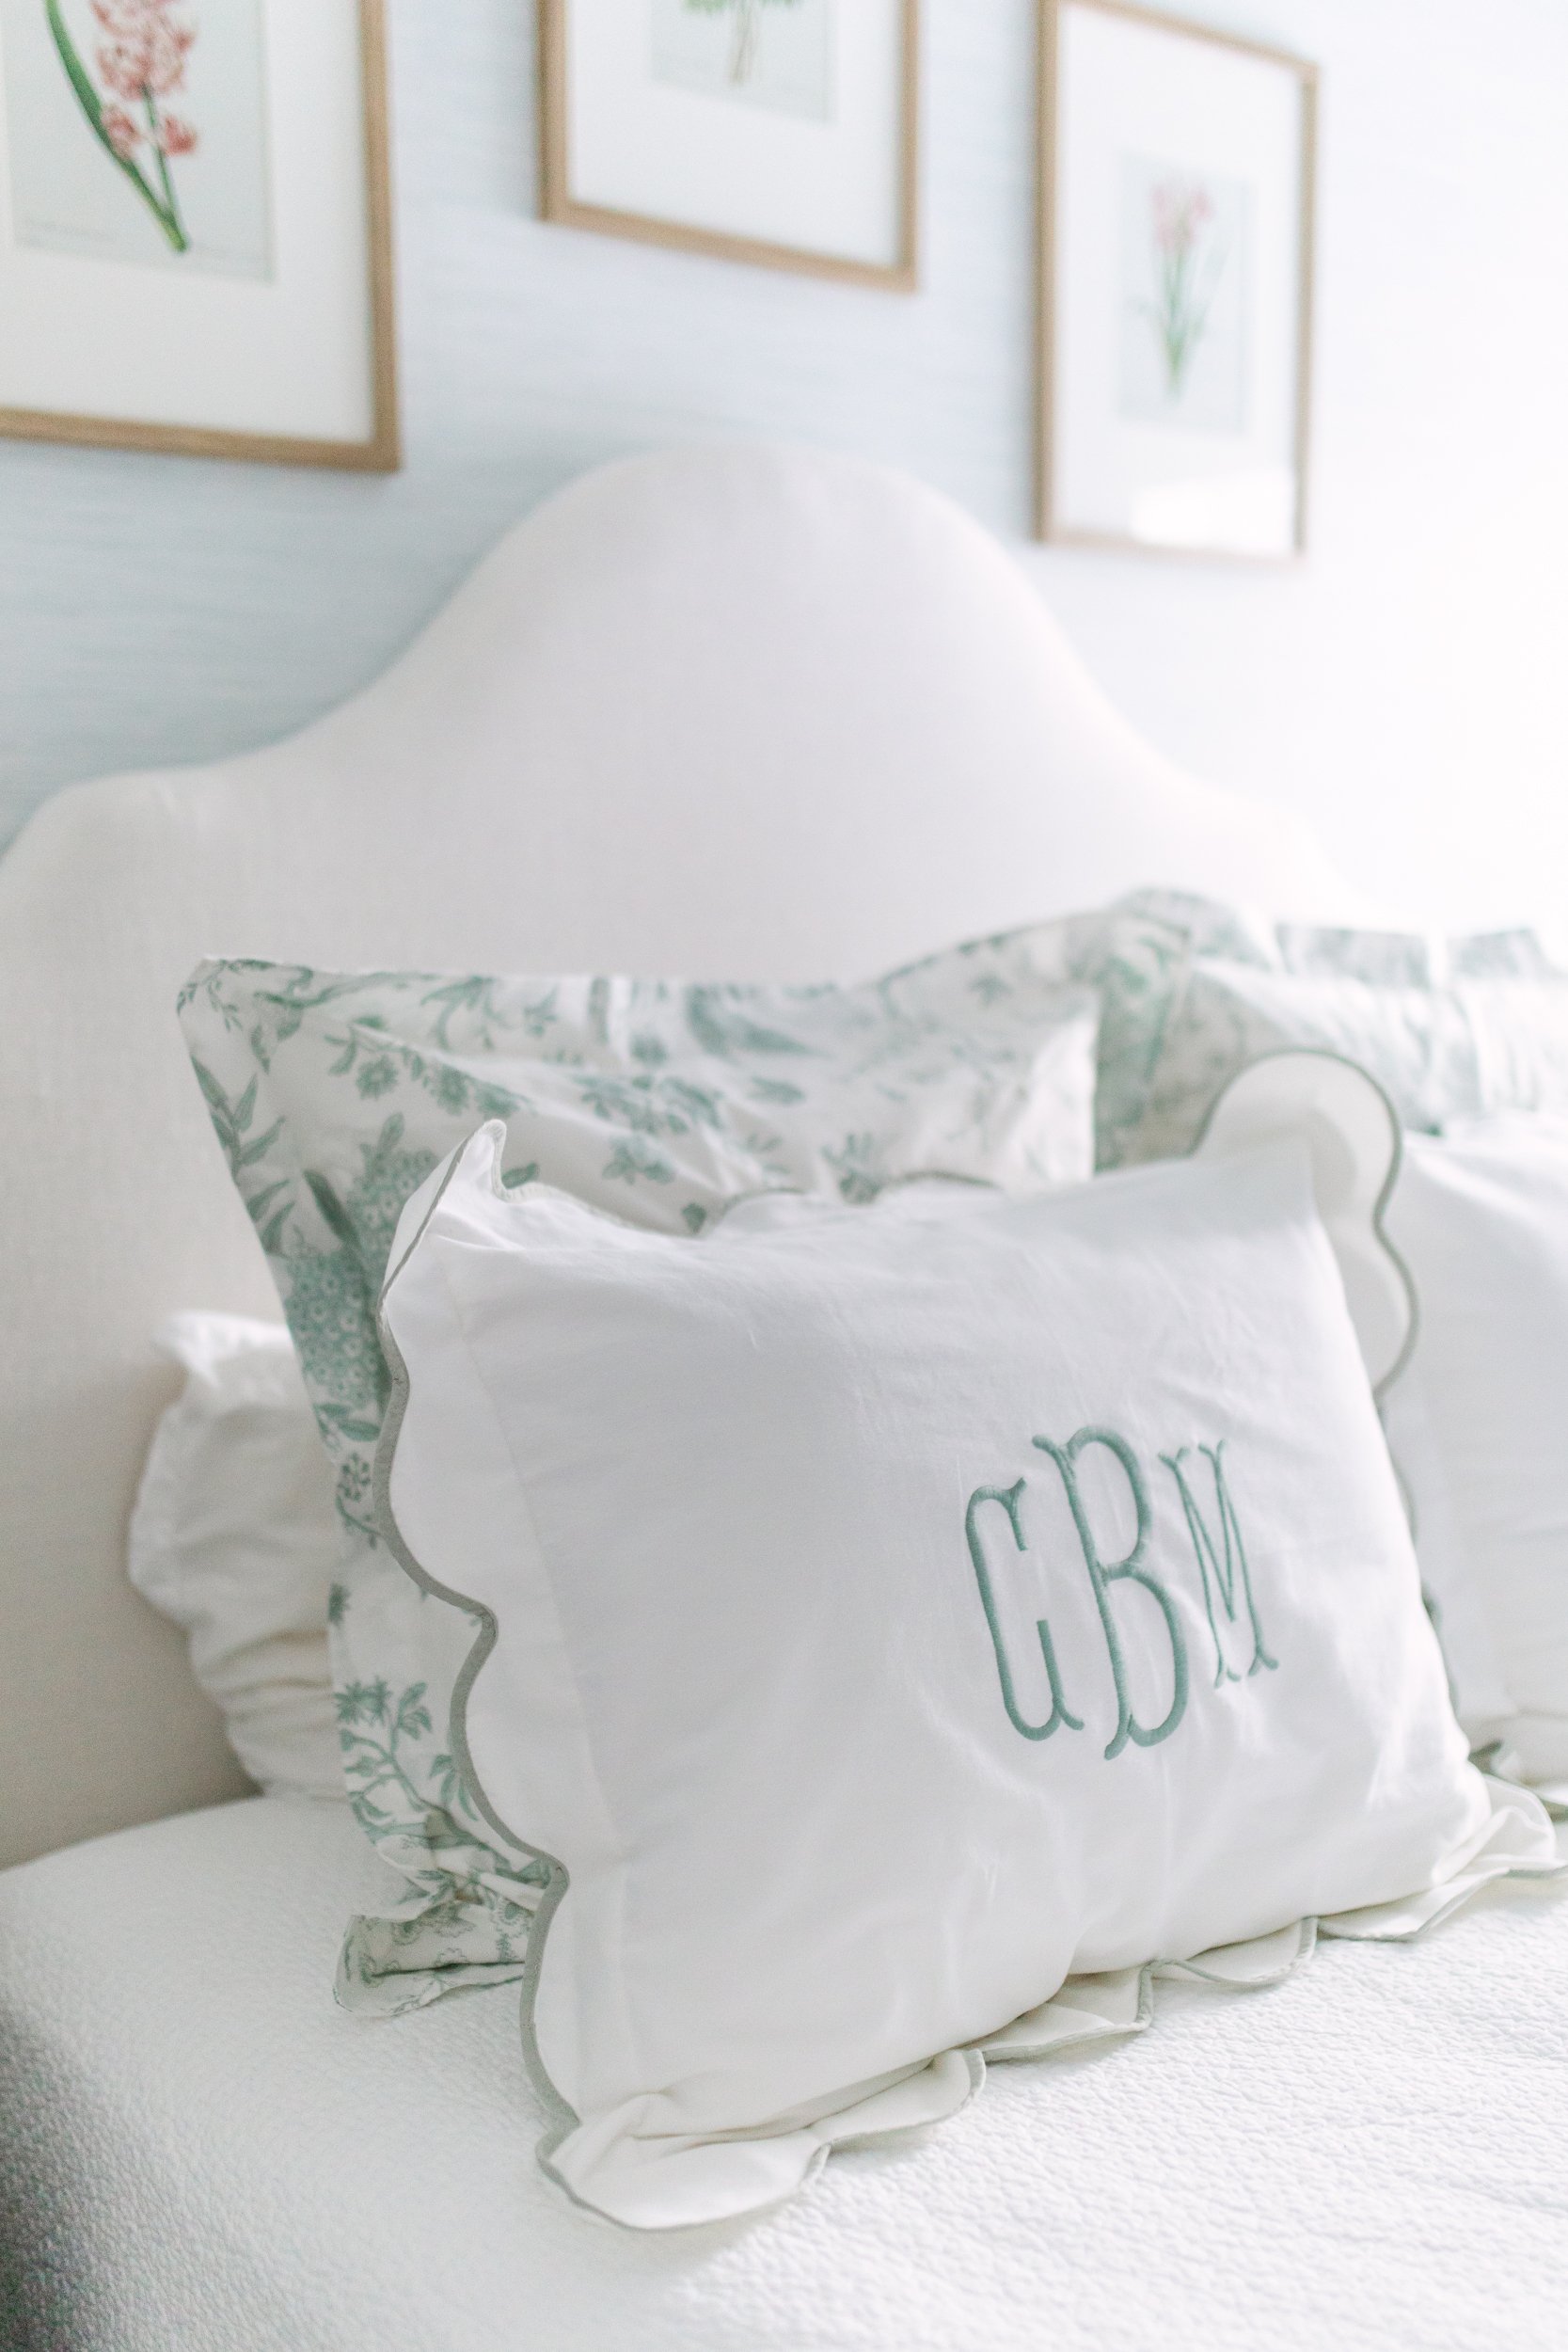
Floral Euro Pillows: Ballard Designs (color: Spa)
Monogram Scalloped Pillows: Ballard Designs (color: Spa, monogram style: 23)
Scalloped Duvet: Ballard Designs (color: Spa)
Floral Bed Skirt: Ballard Designs
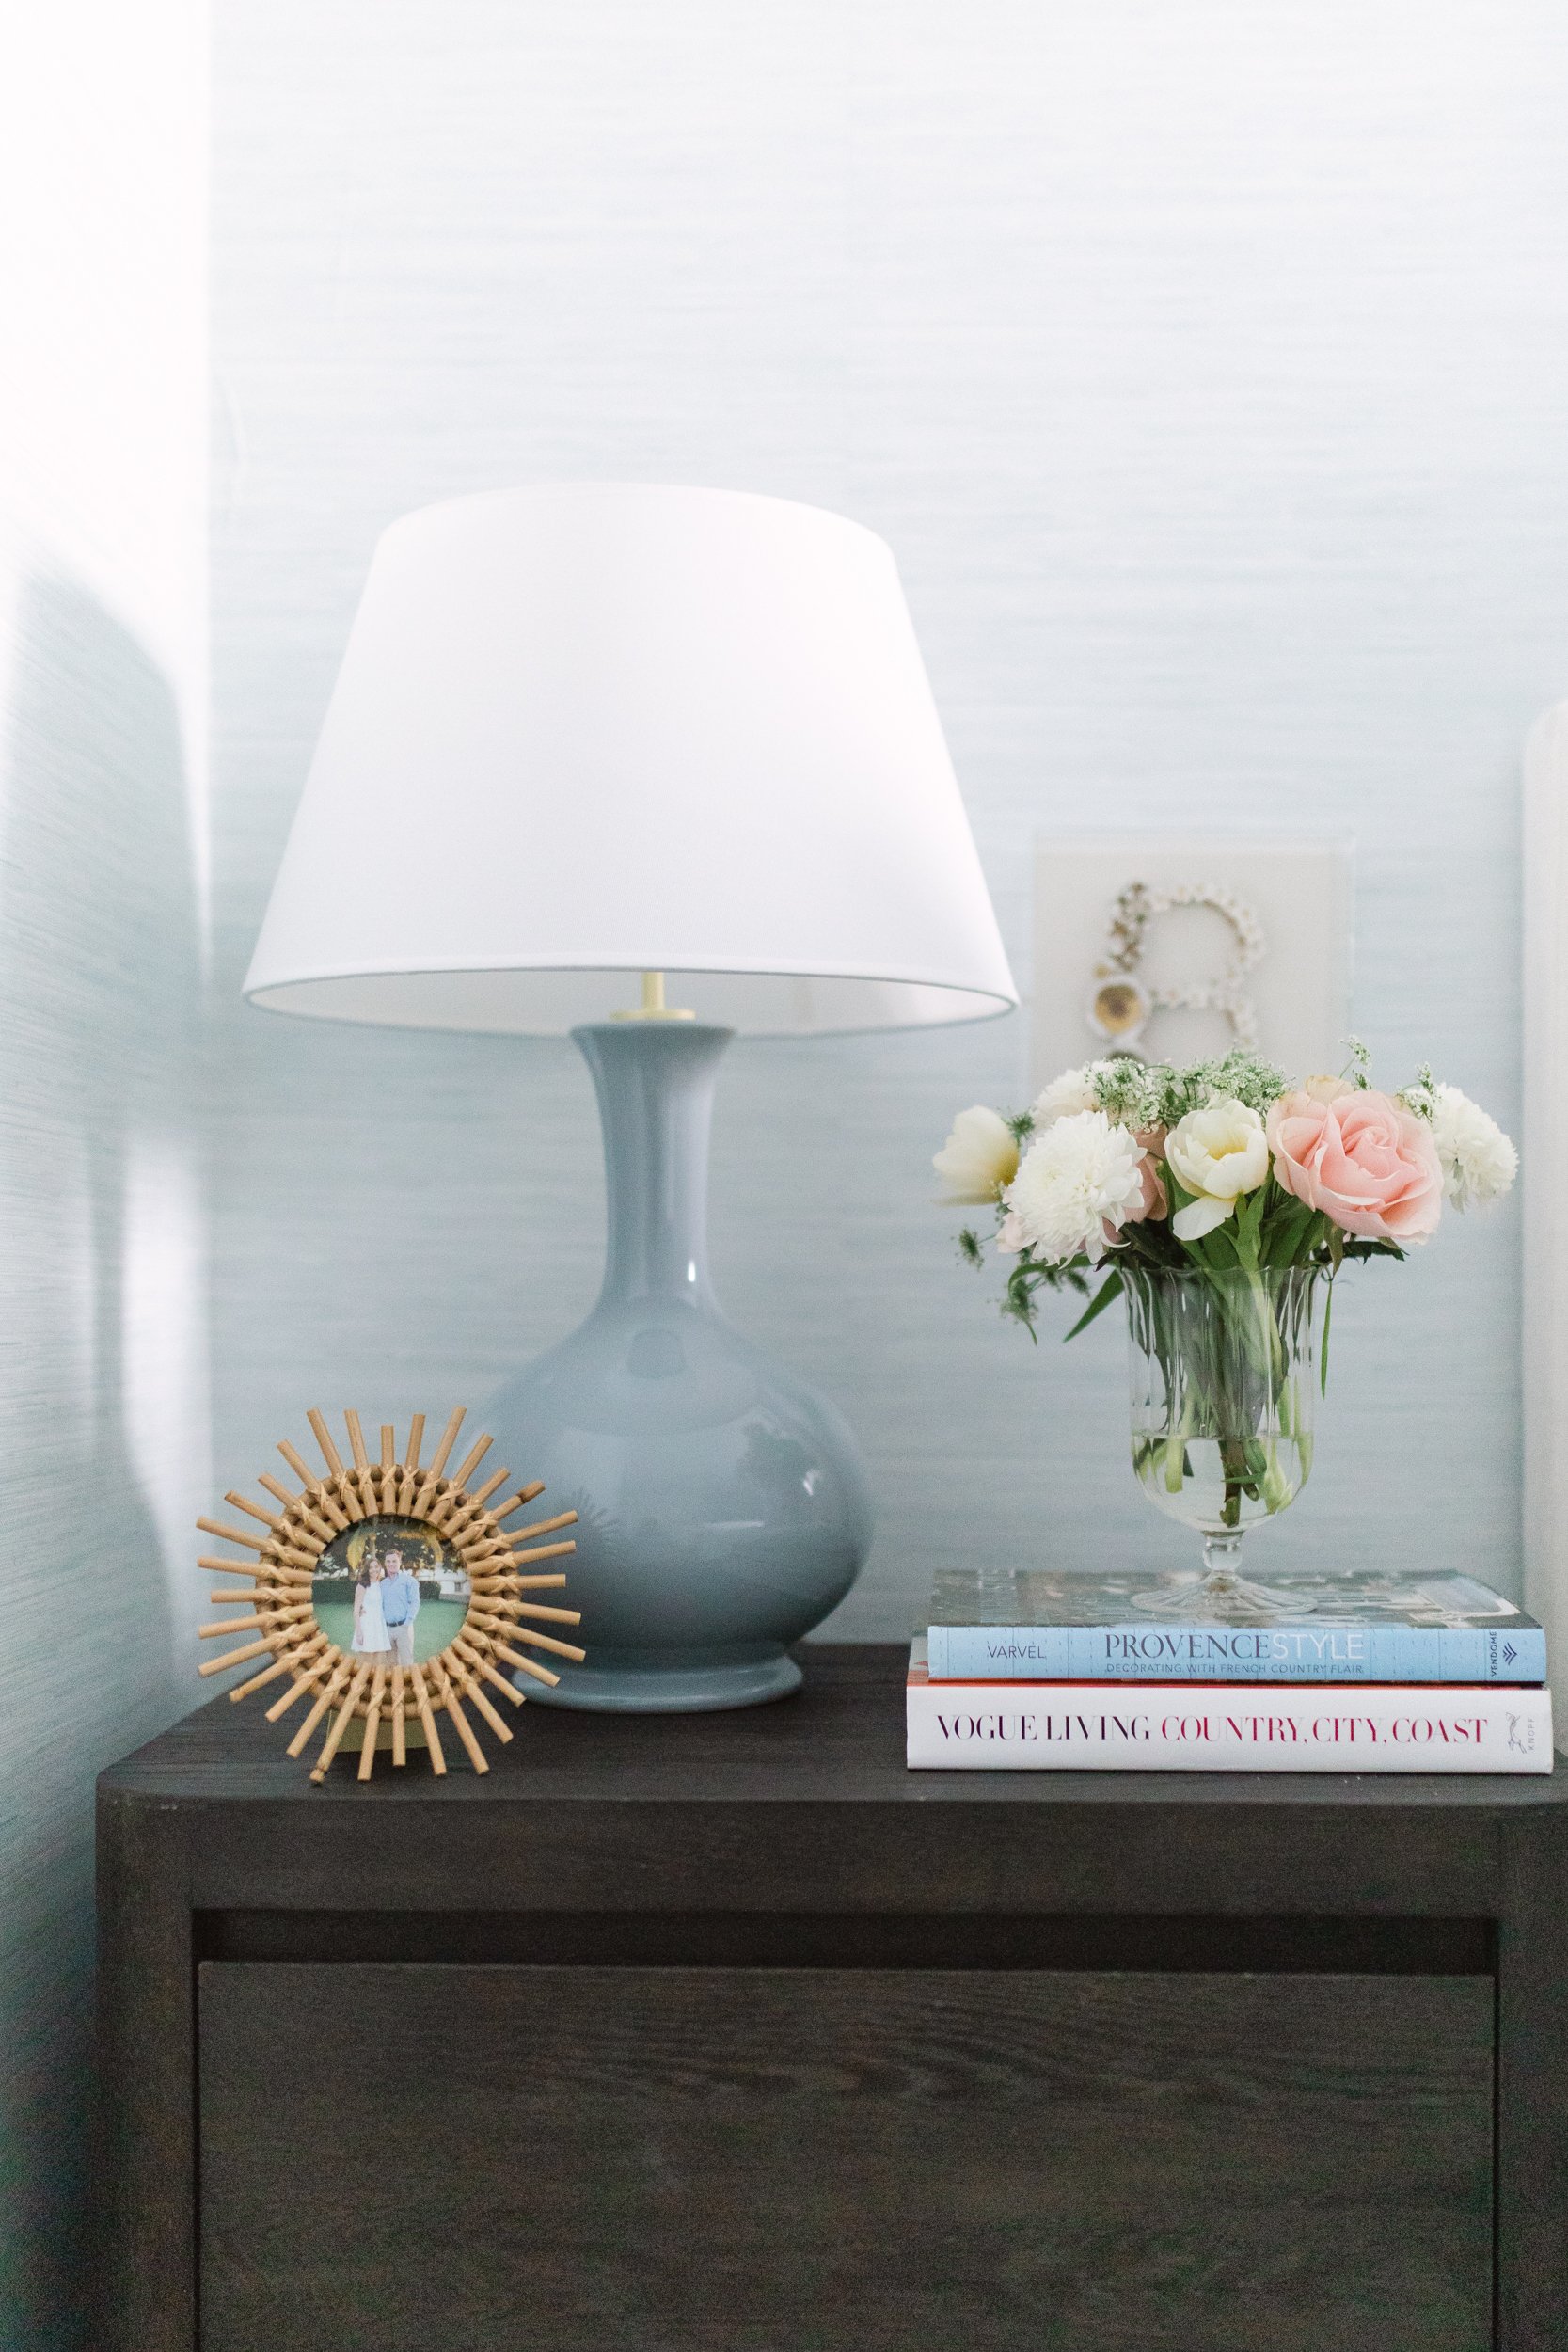
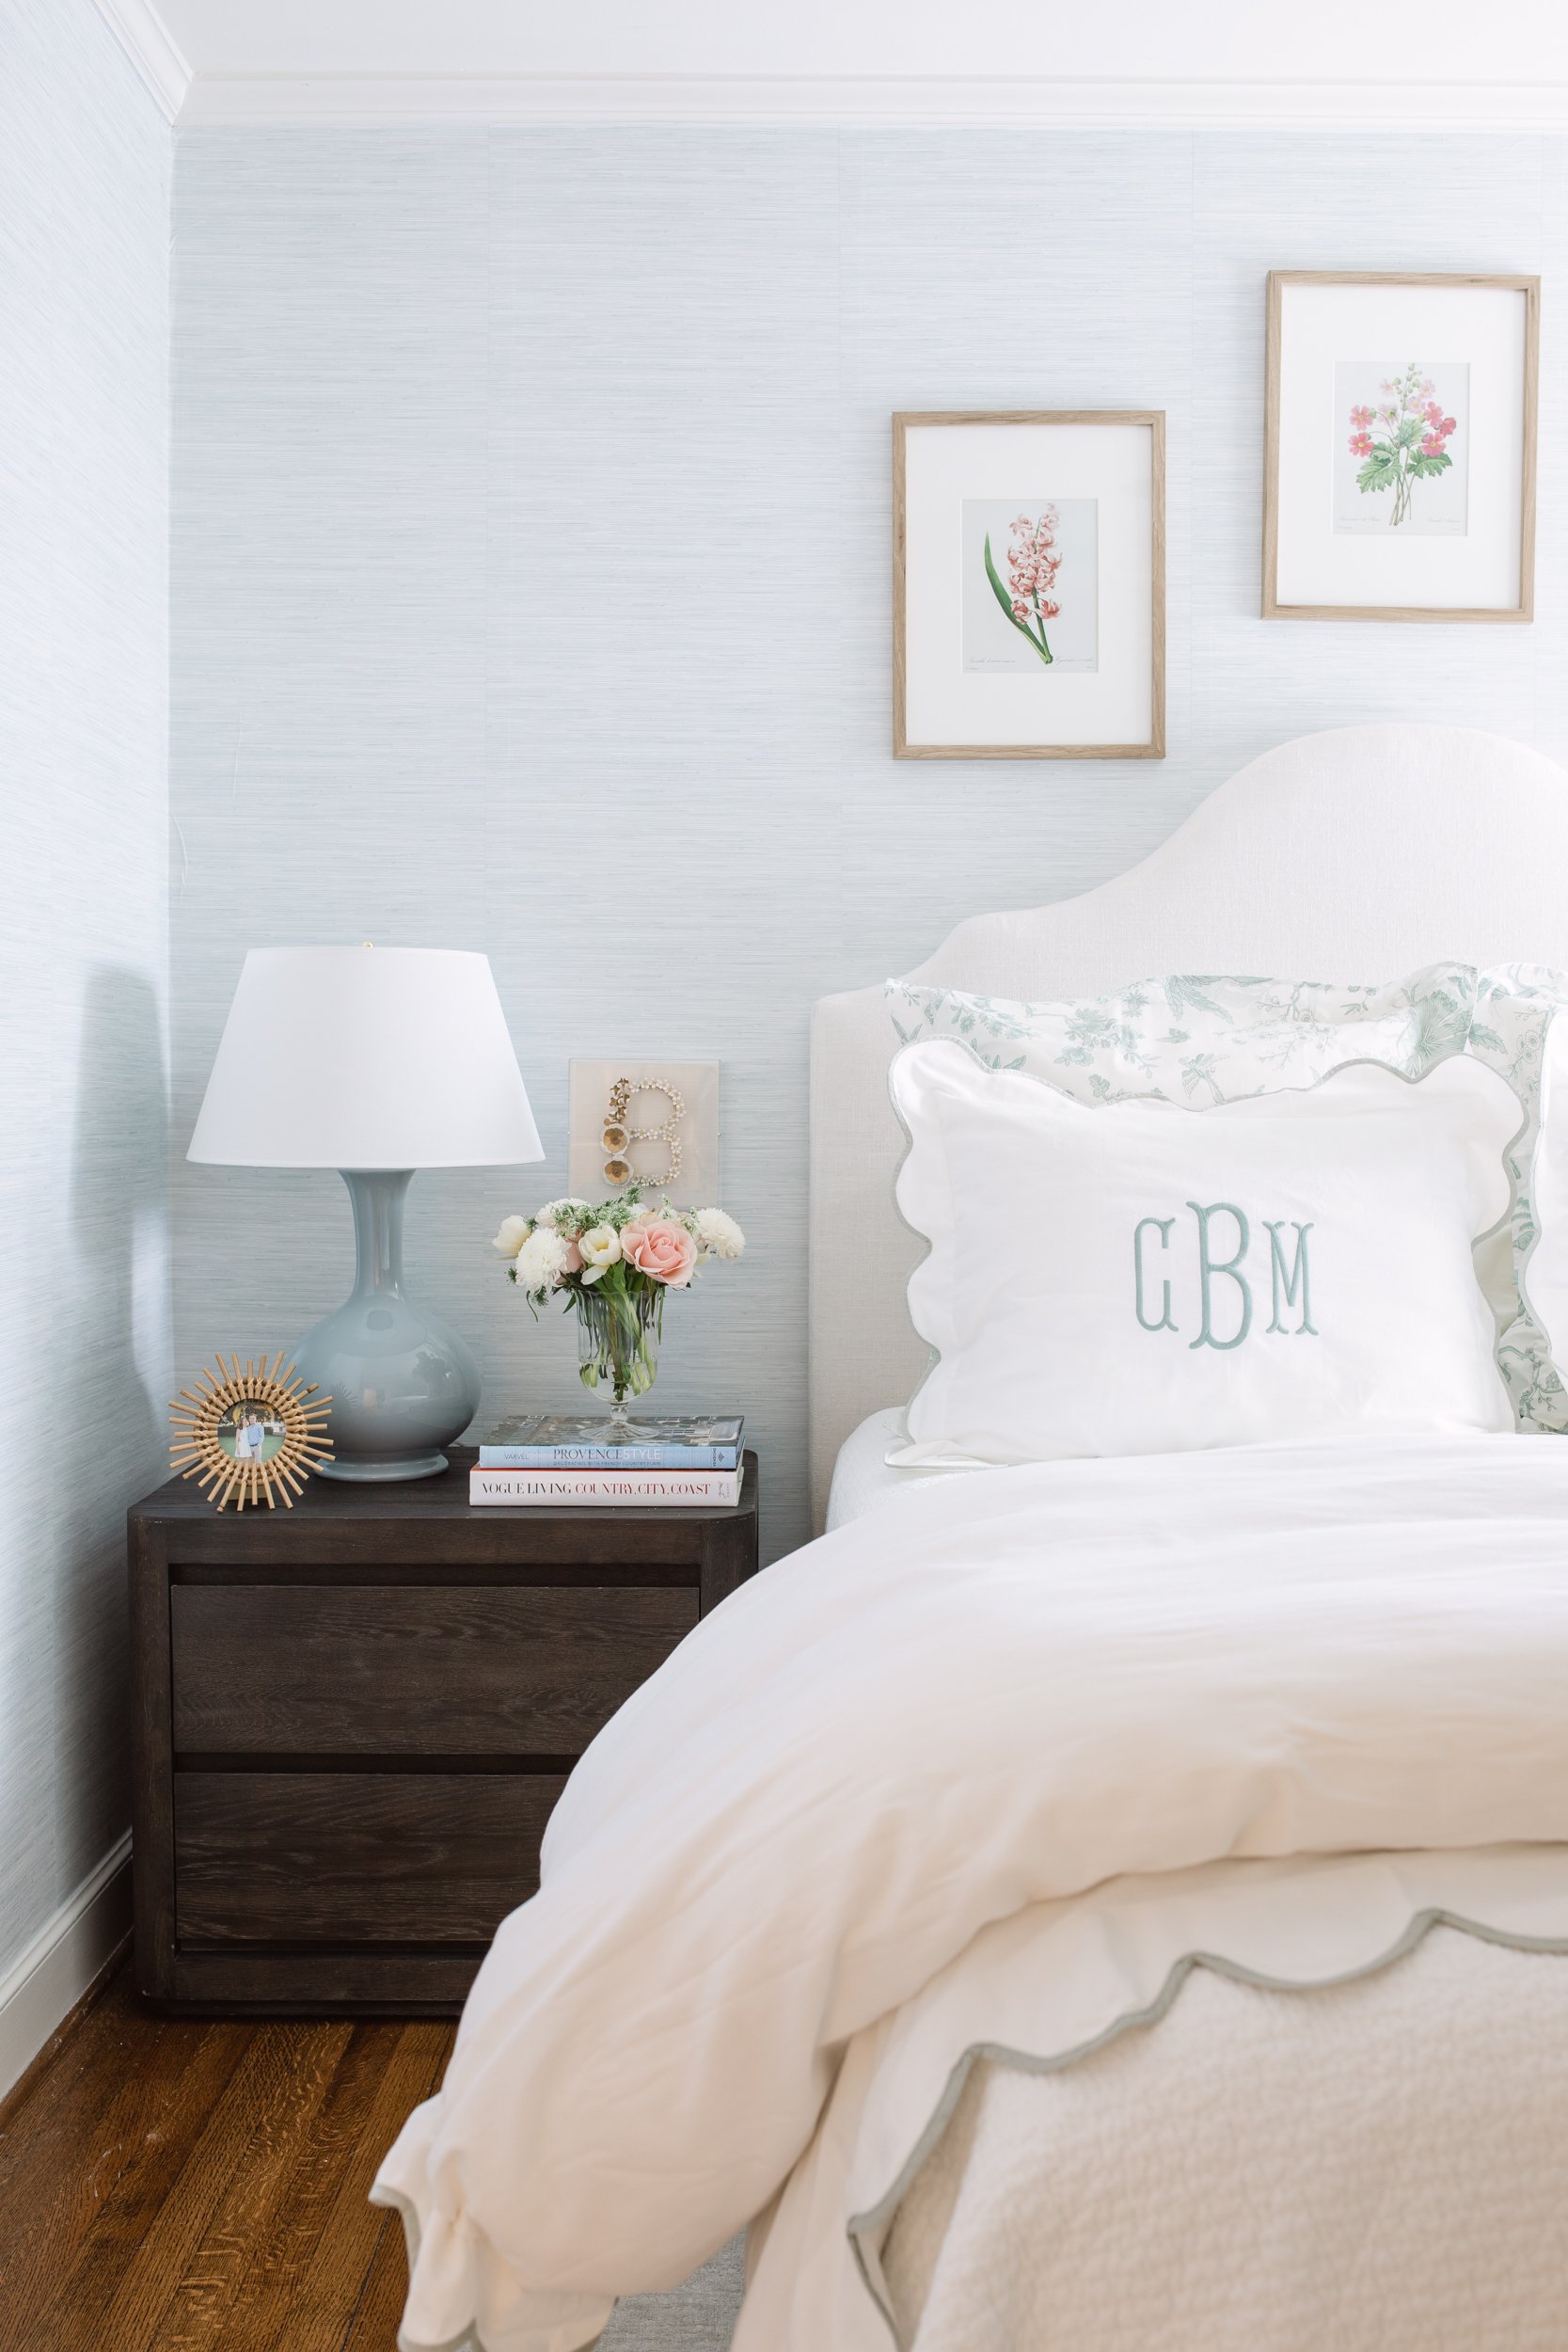
Bedside Table: Restoration Hardware
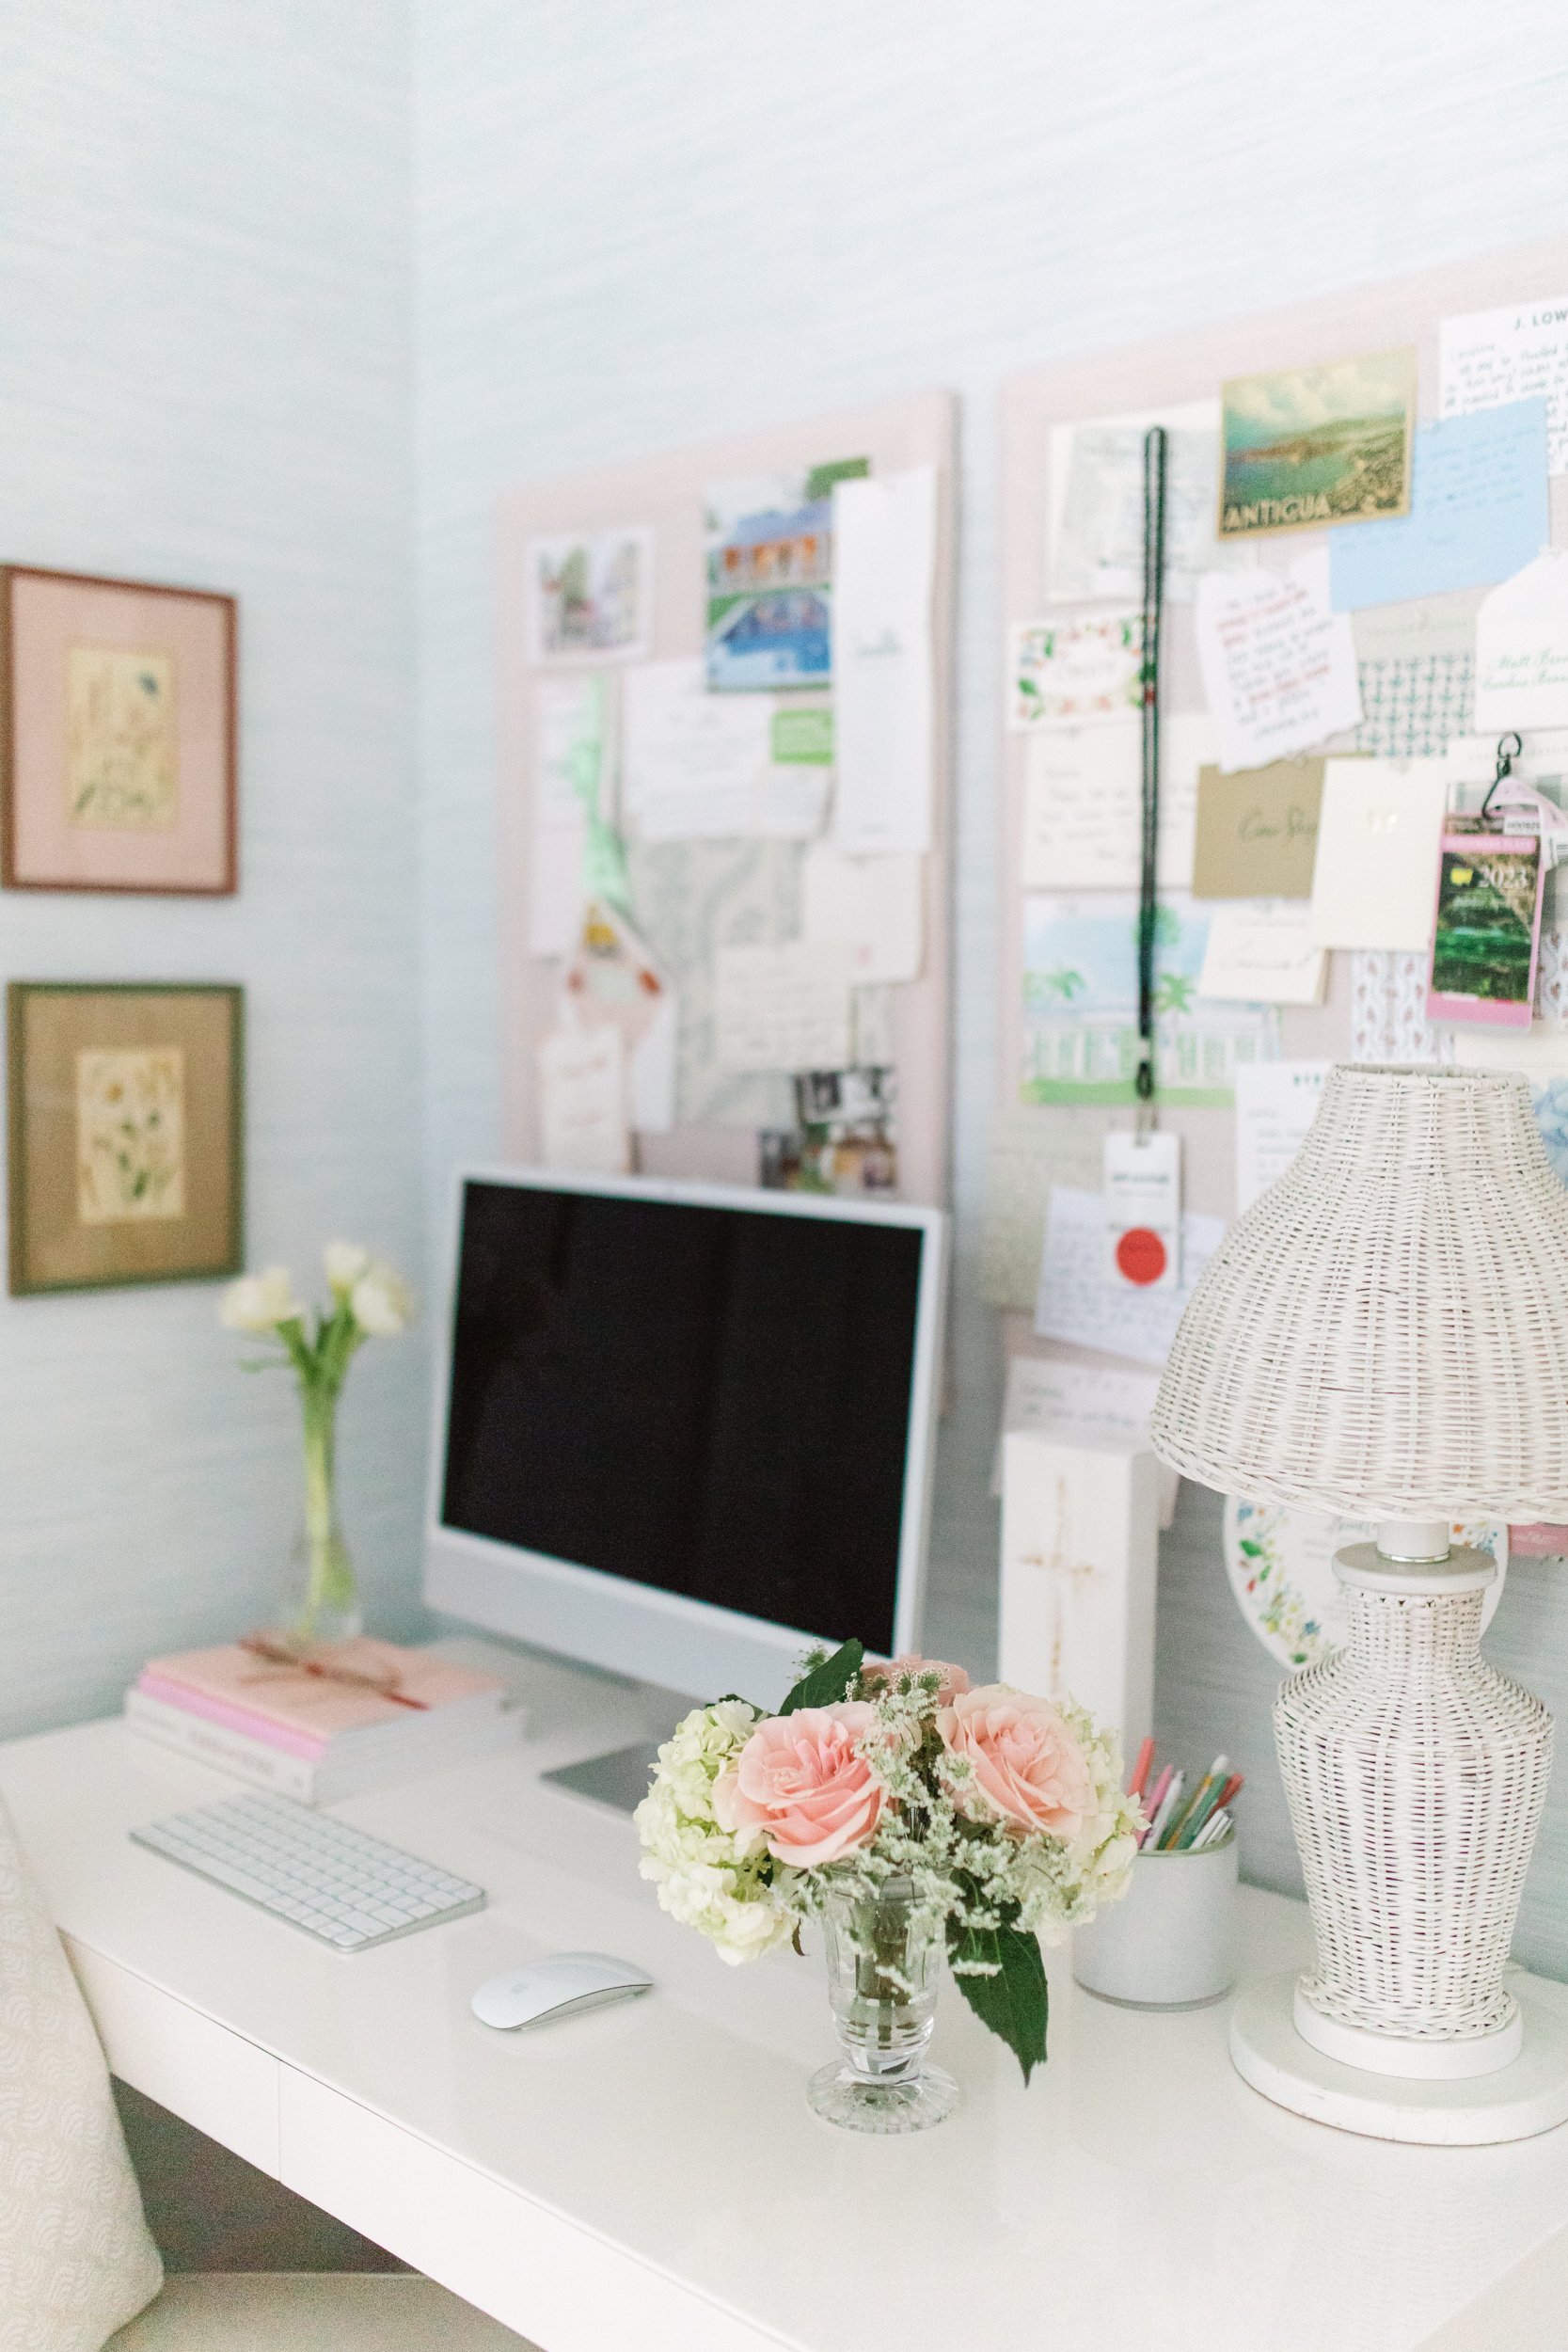
Bedside Table Lamp: Suzanne Kasler
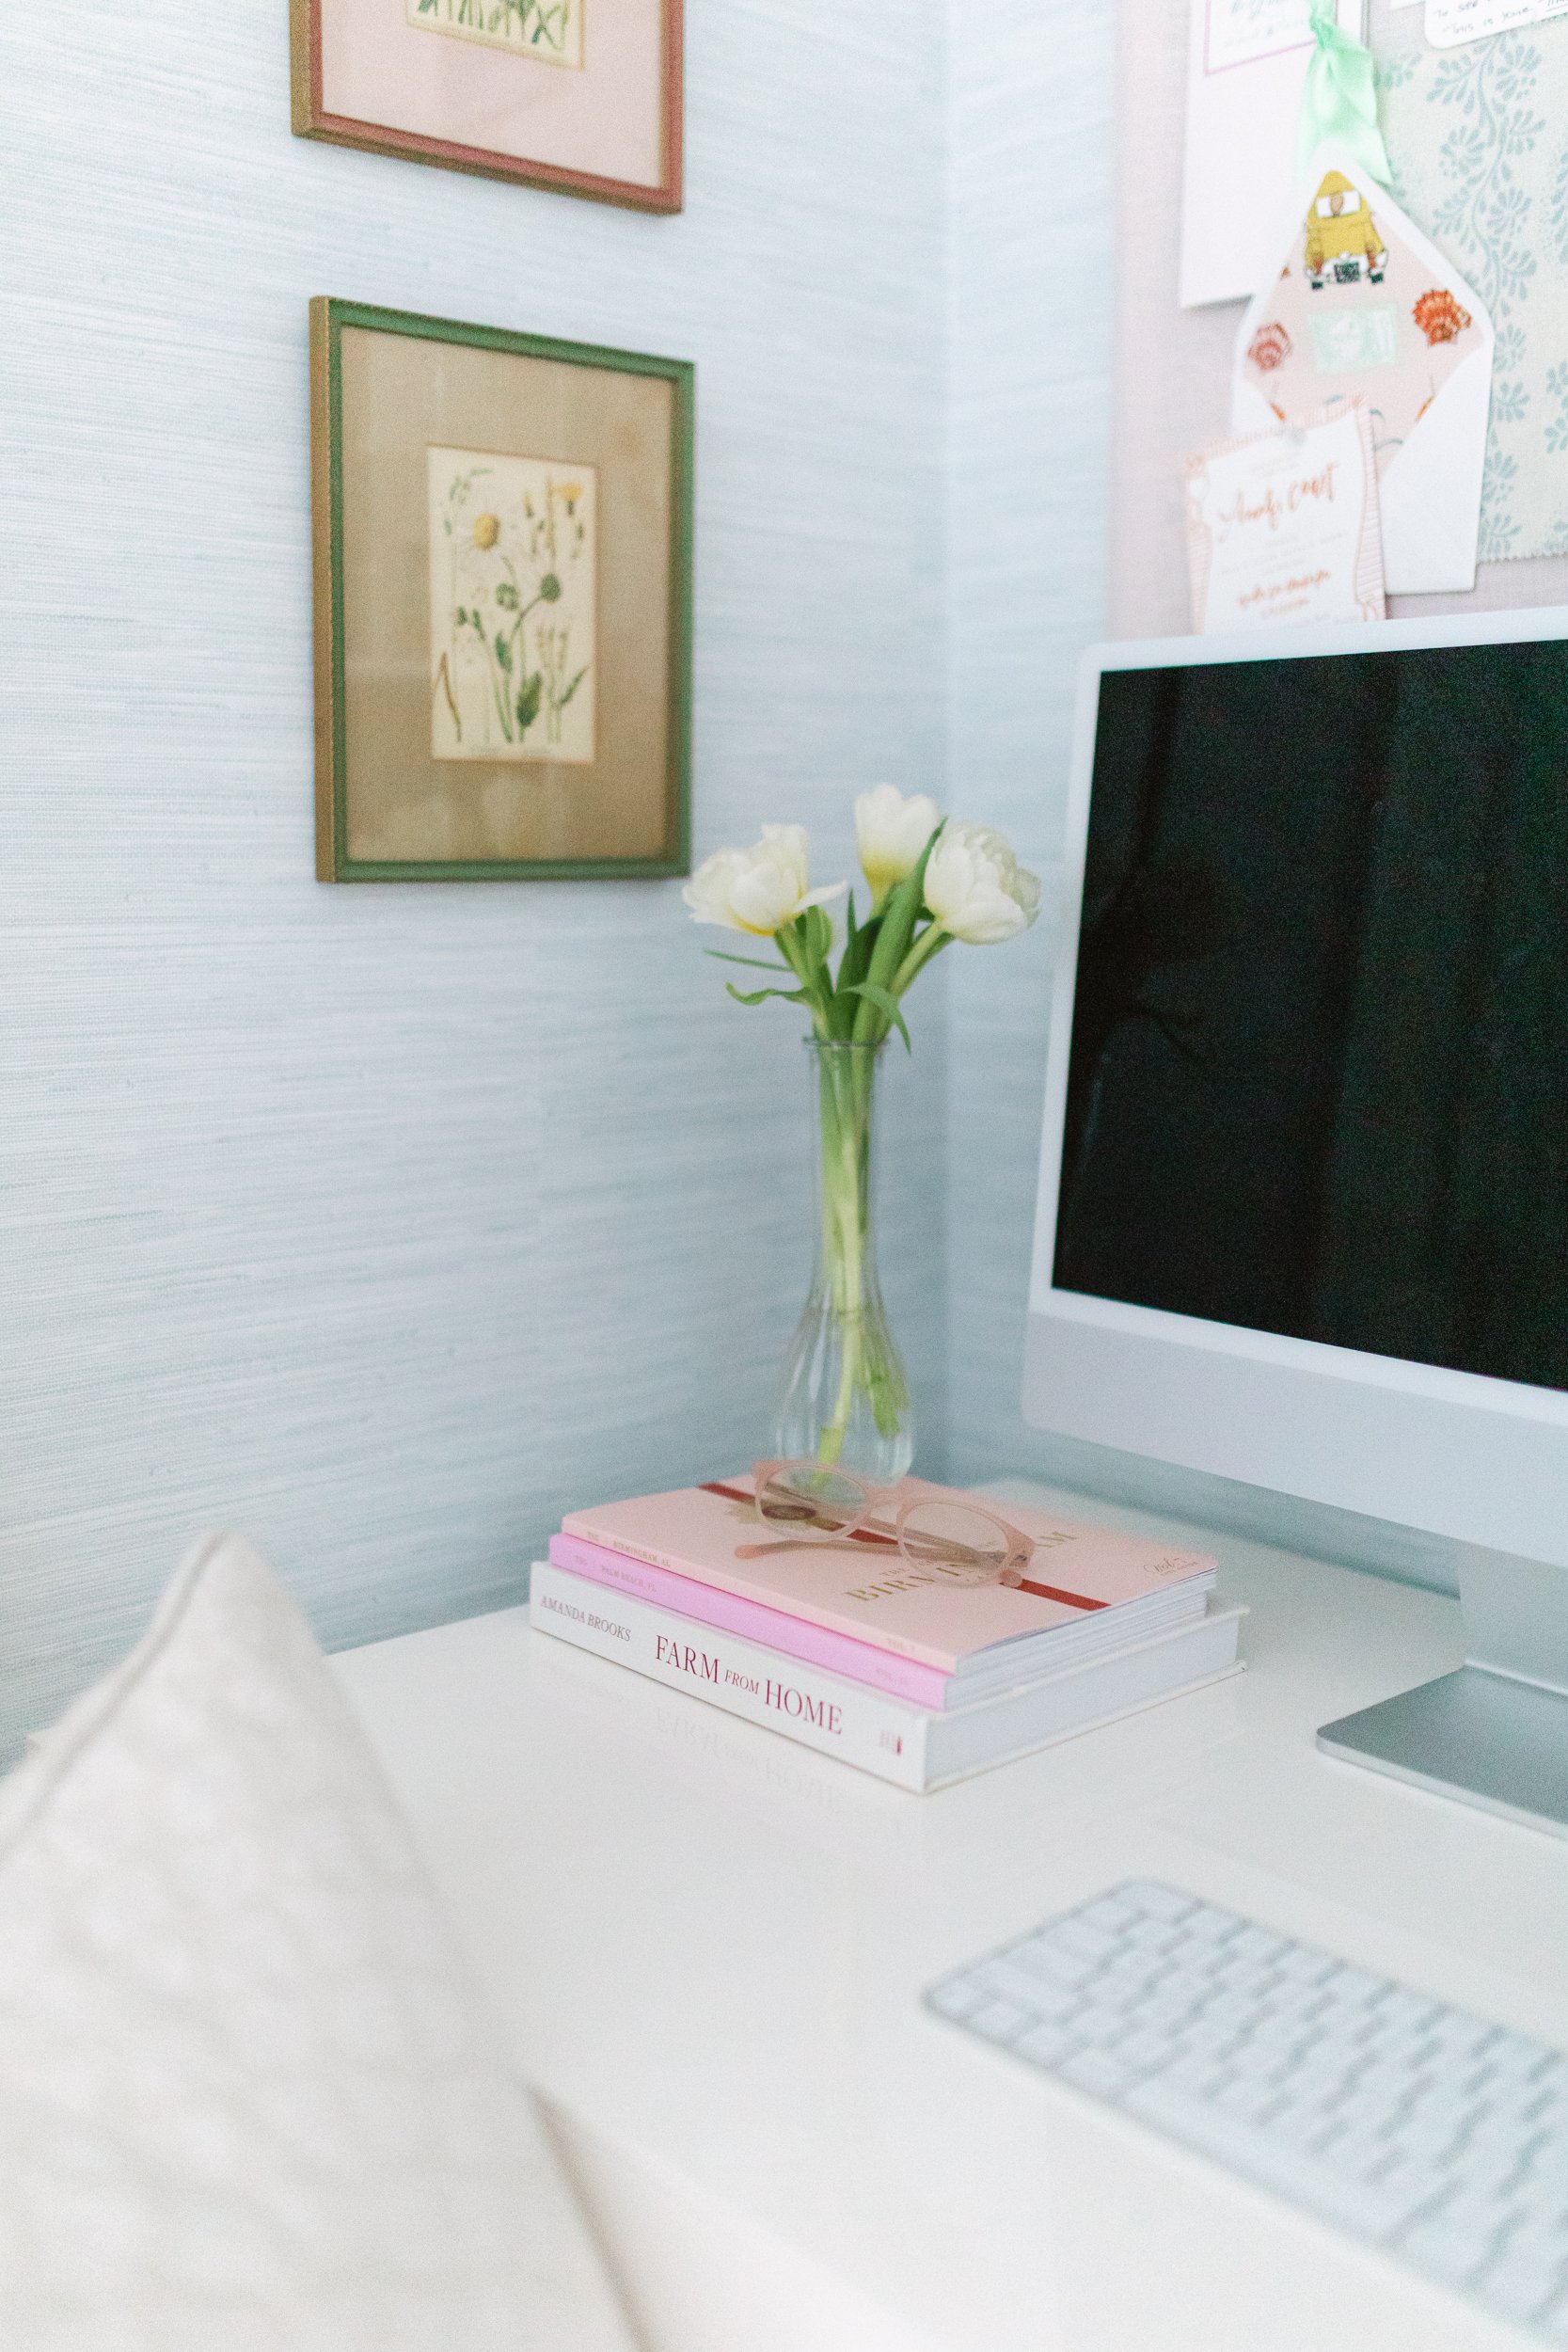
Bedside Table Books: Vogue Living, Provence Style
Bedside Table Frame: Amanda Lindroth
Flower Vases: Shoppe Birmingham
“B” Shadow Box Art: Tommy Mitchell from Hive Palm Beach
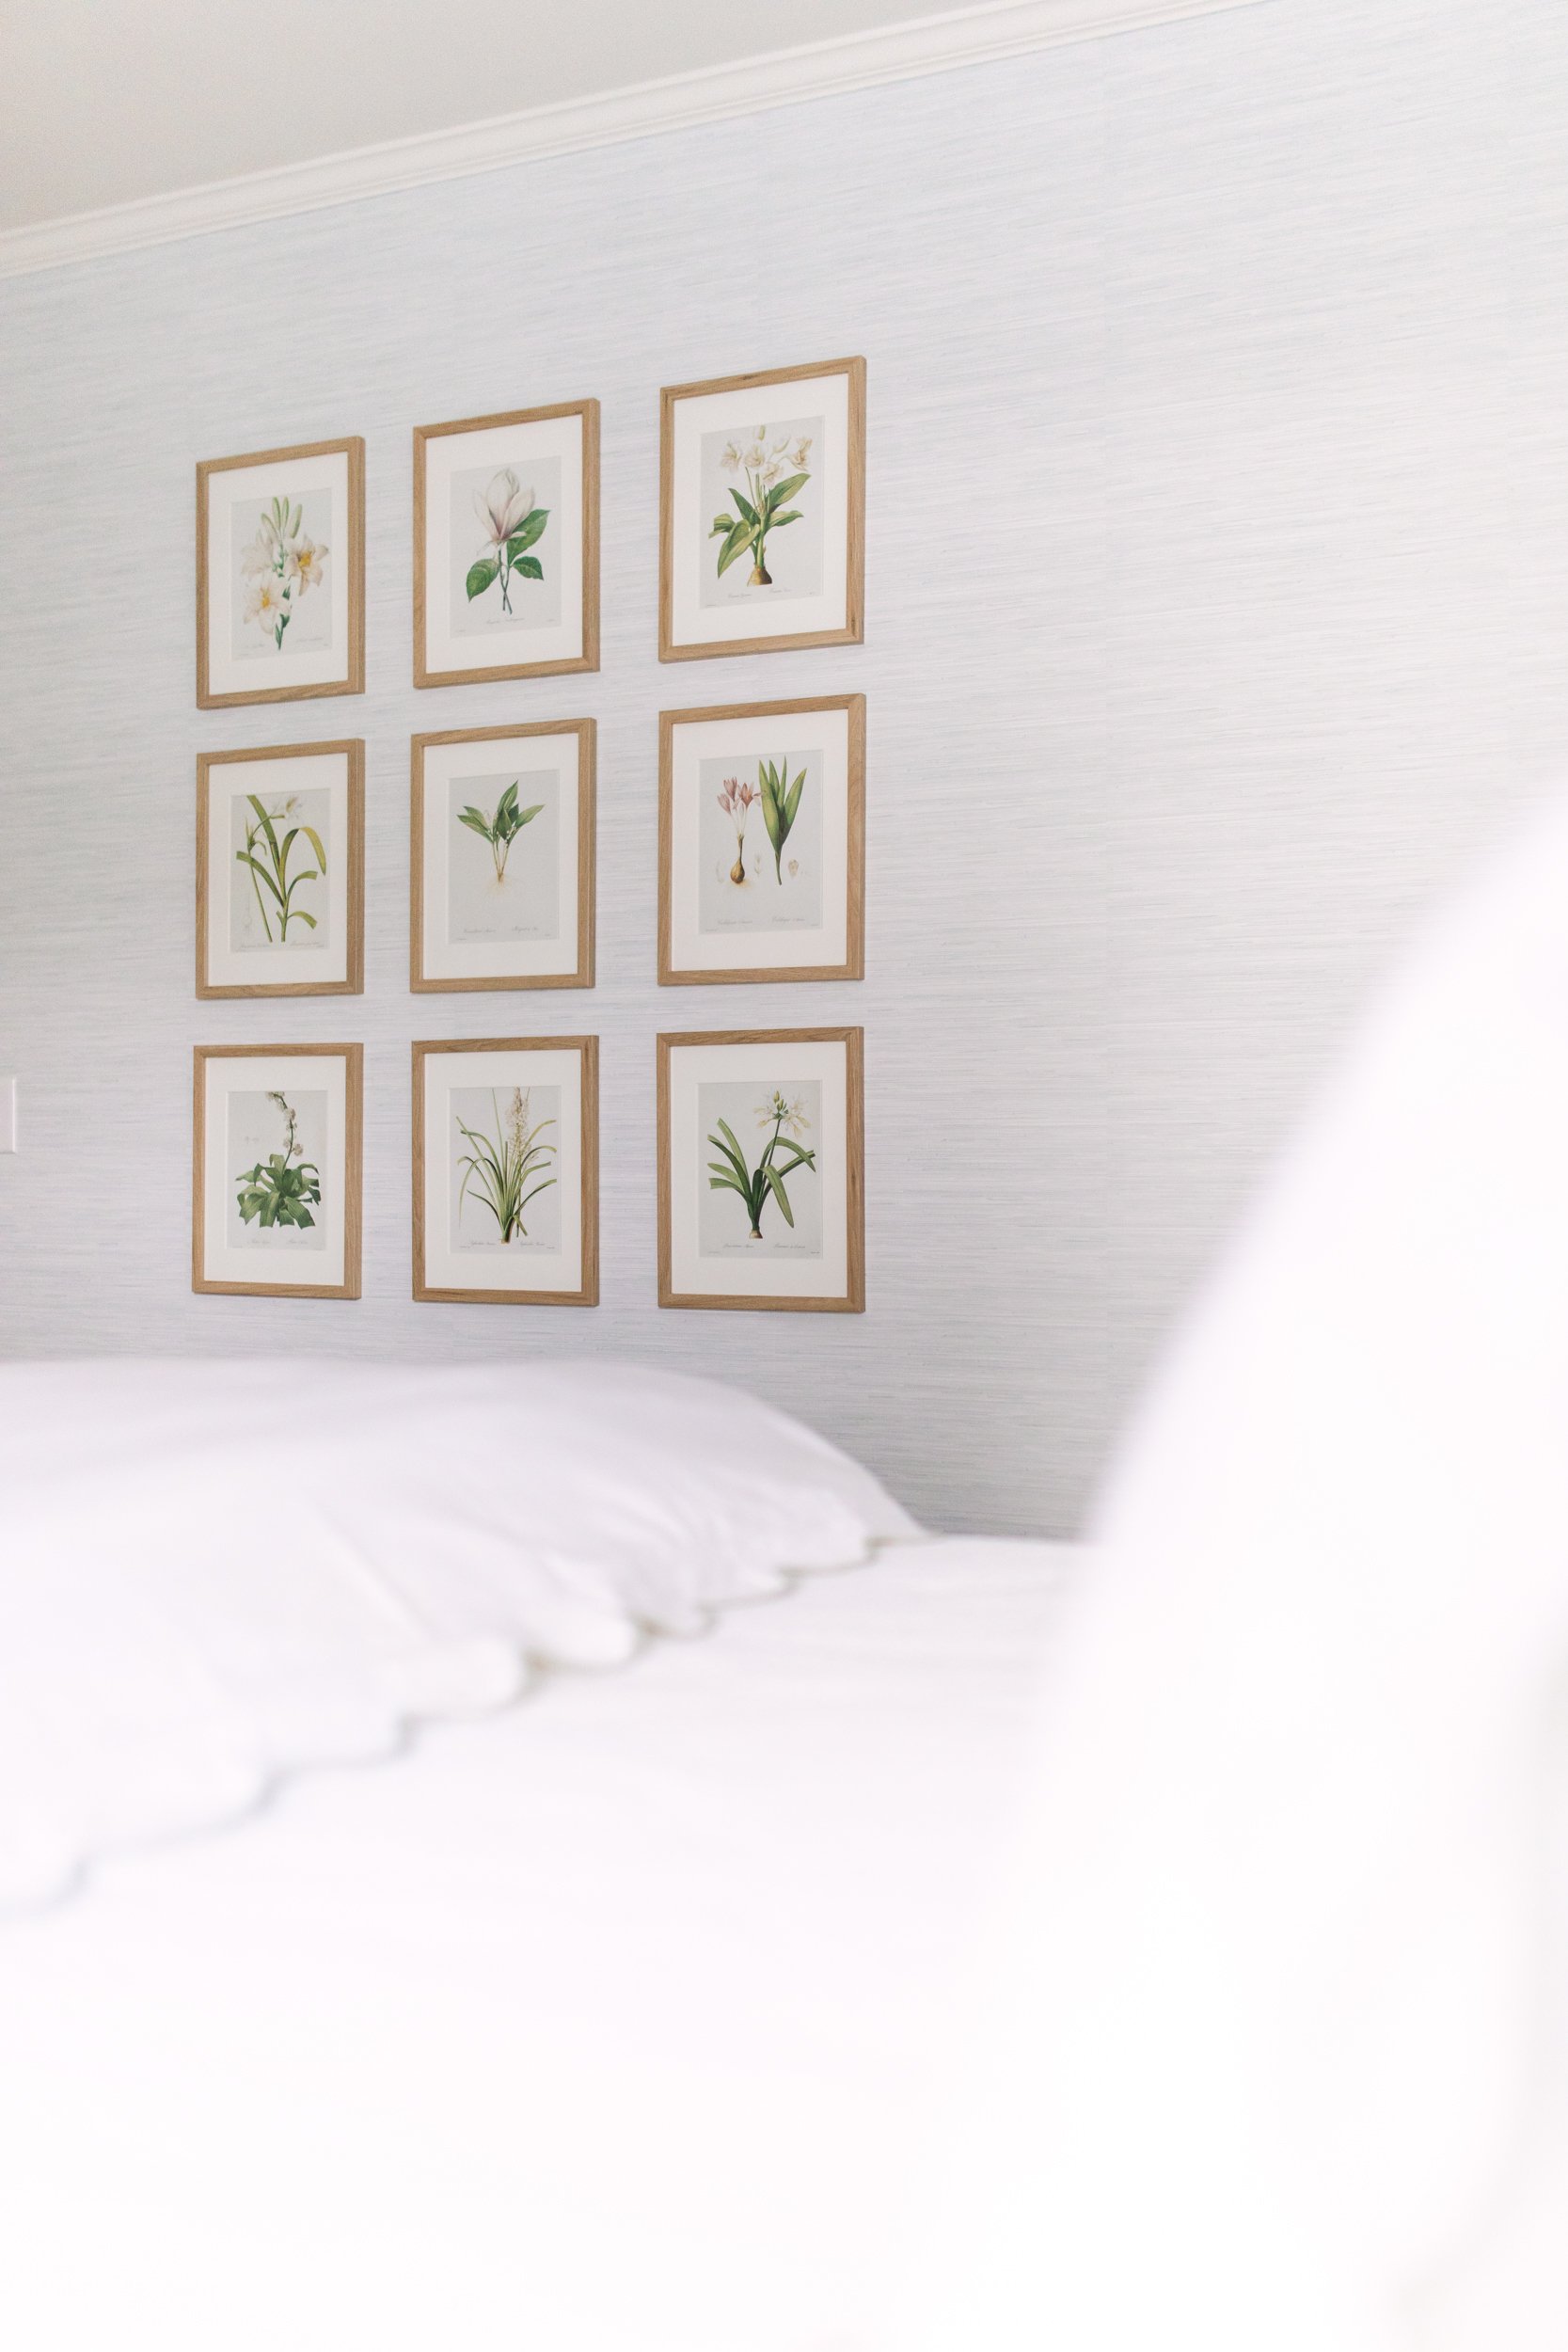
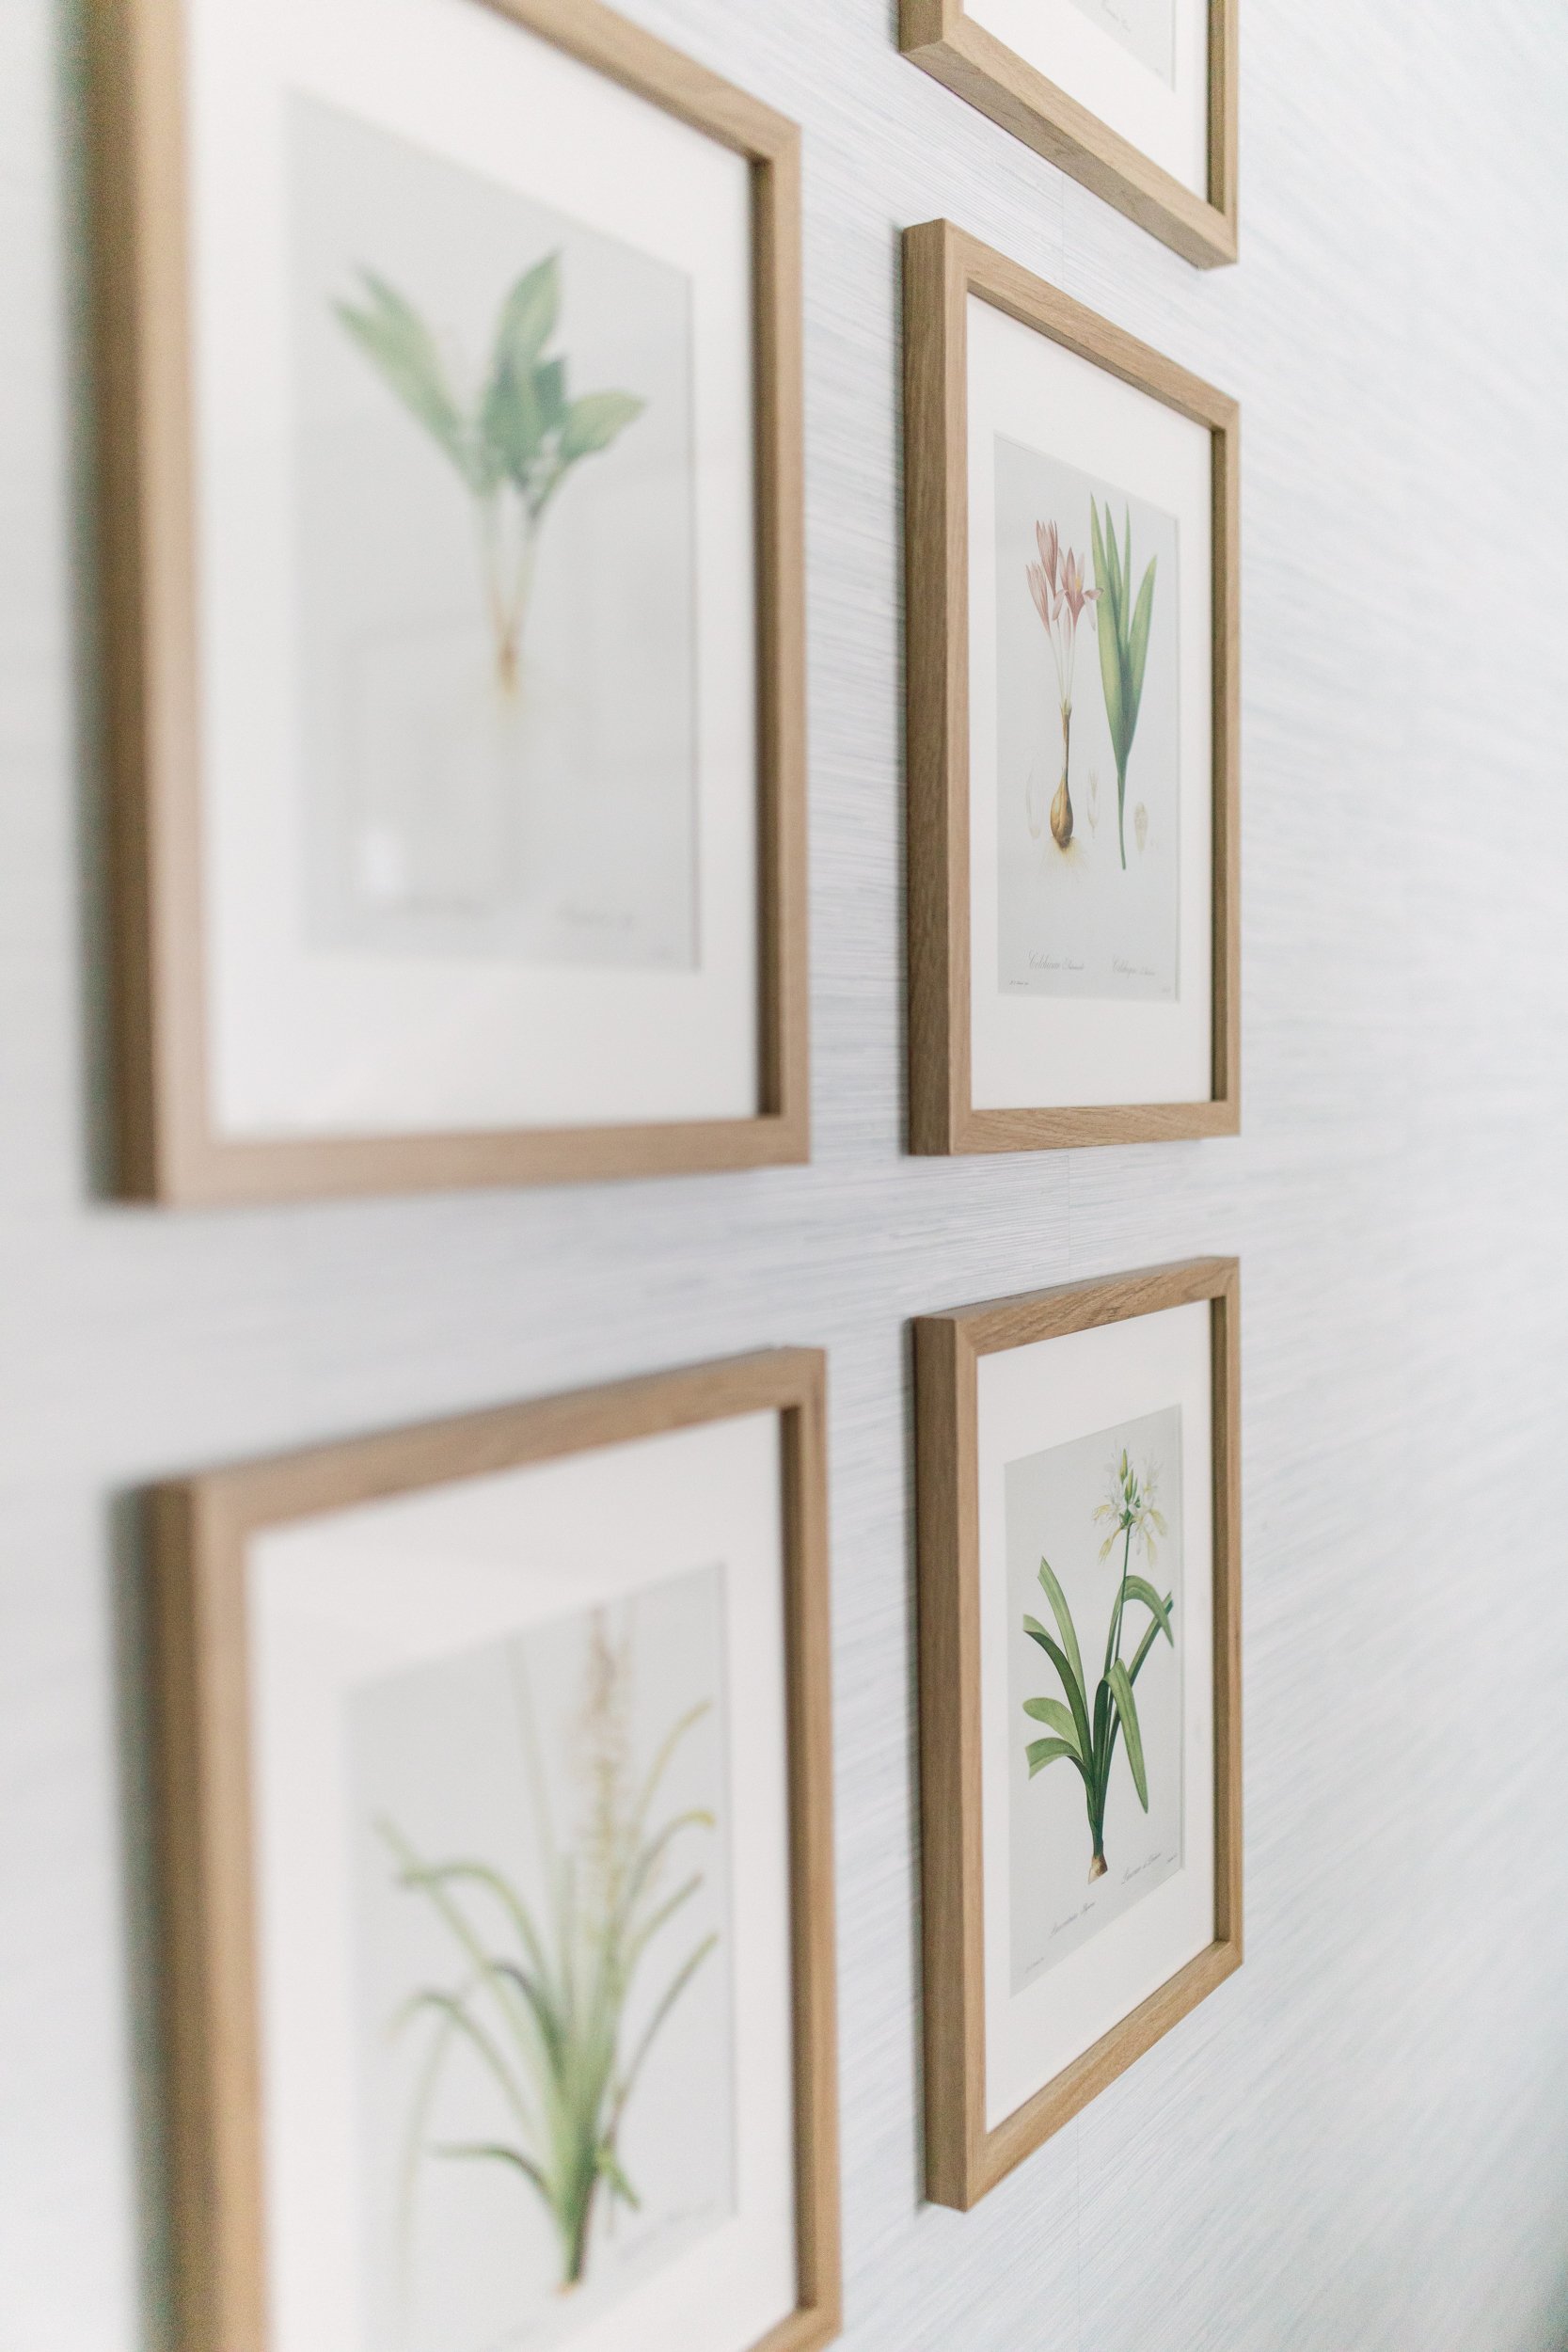
Botanical Art: Pages of this book cut out and framed in these frames
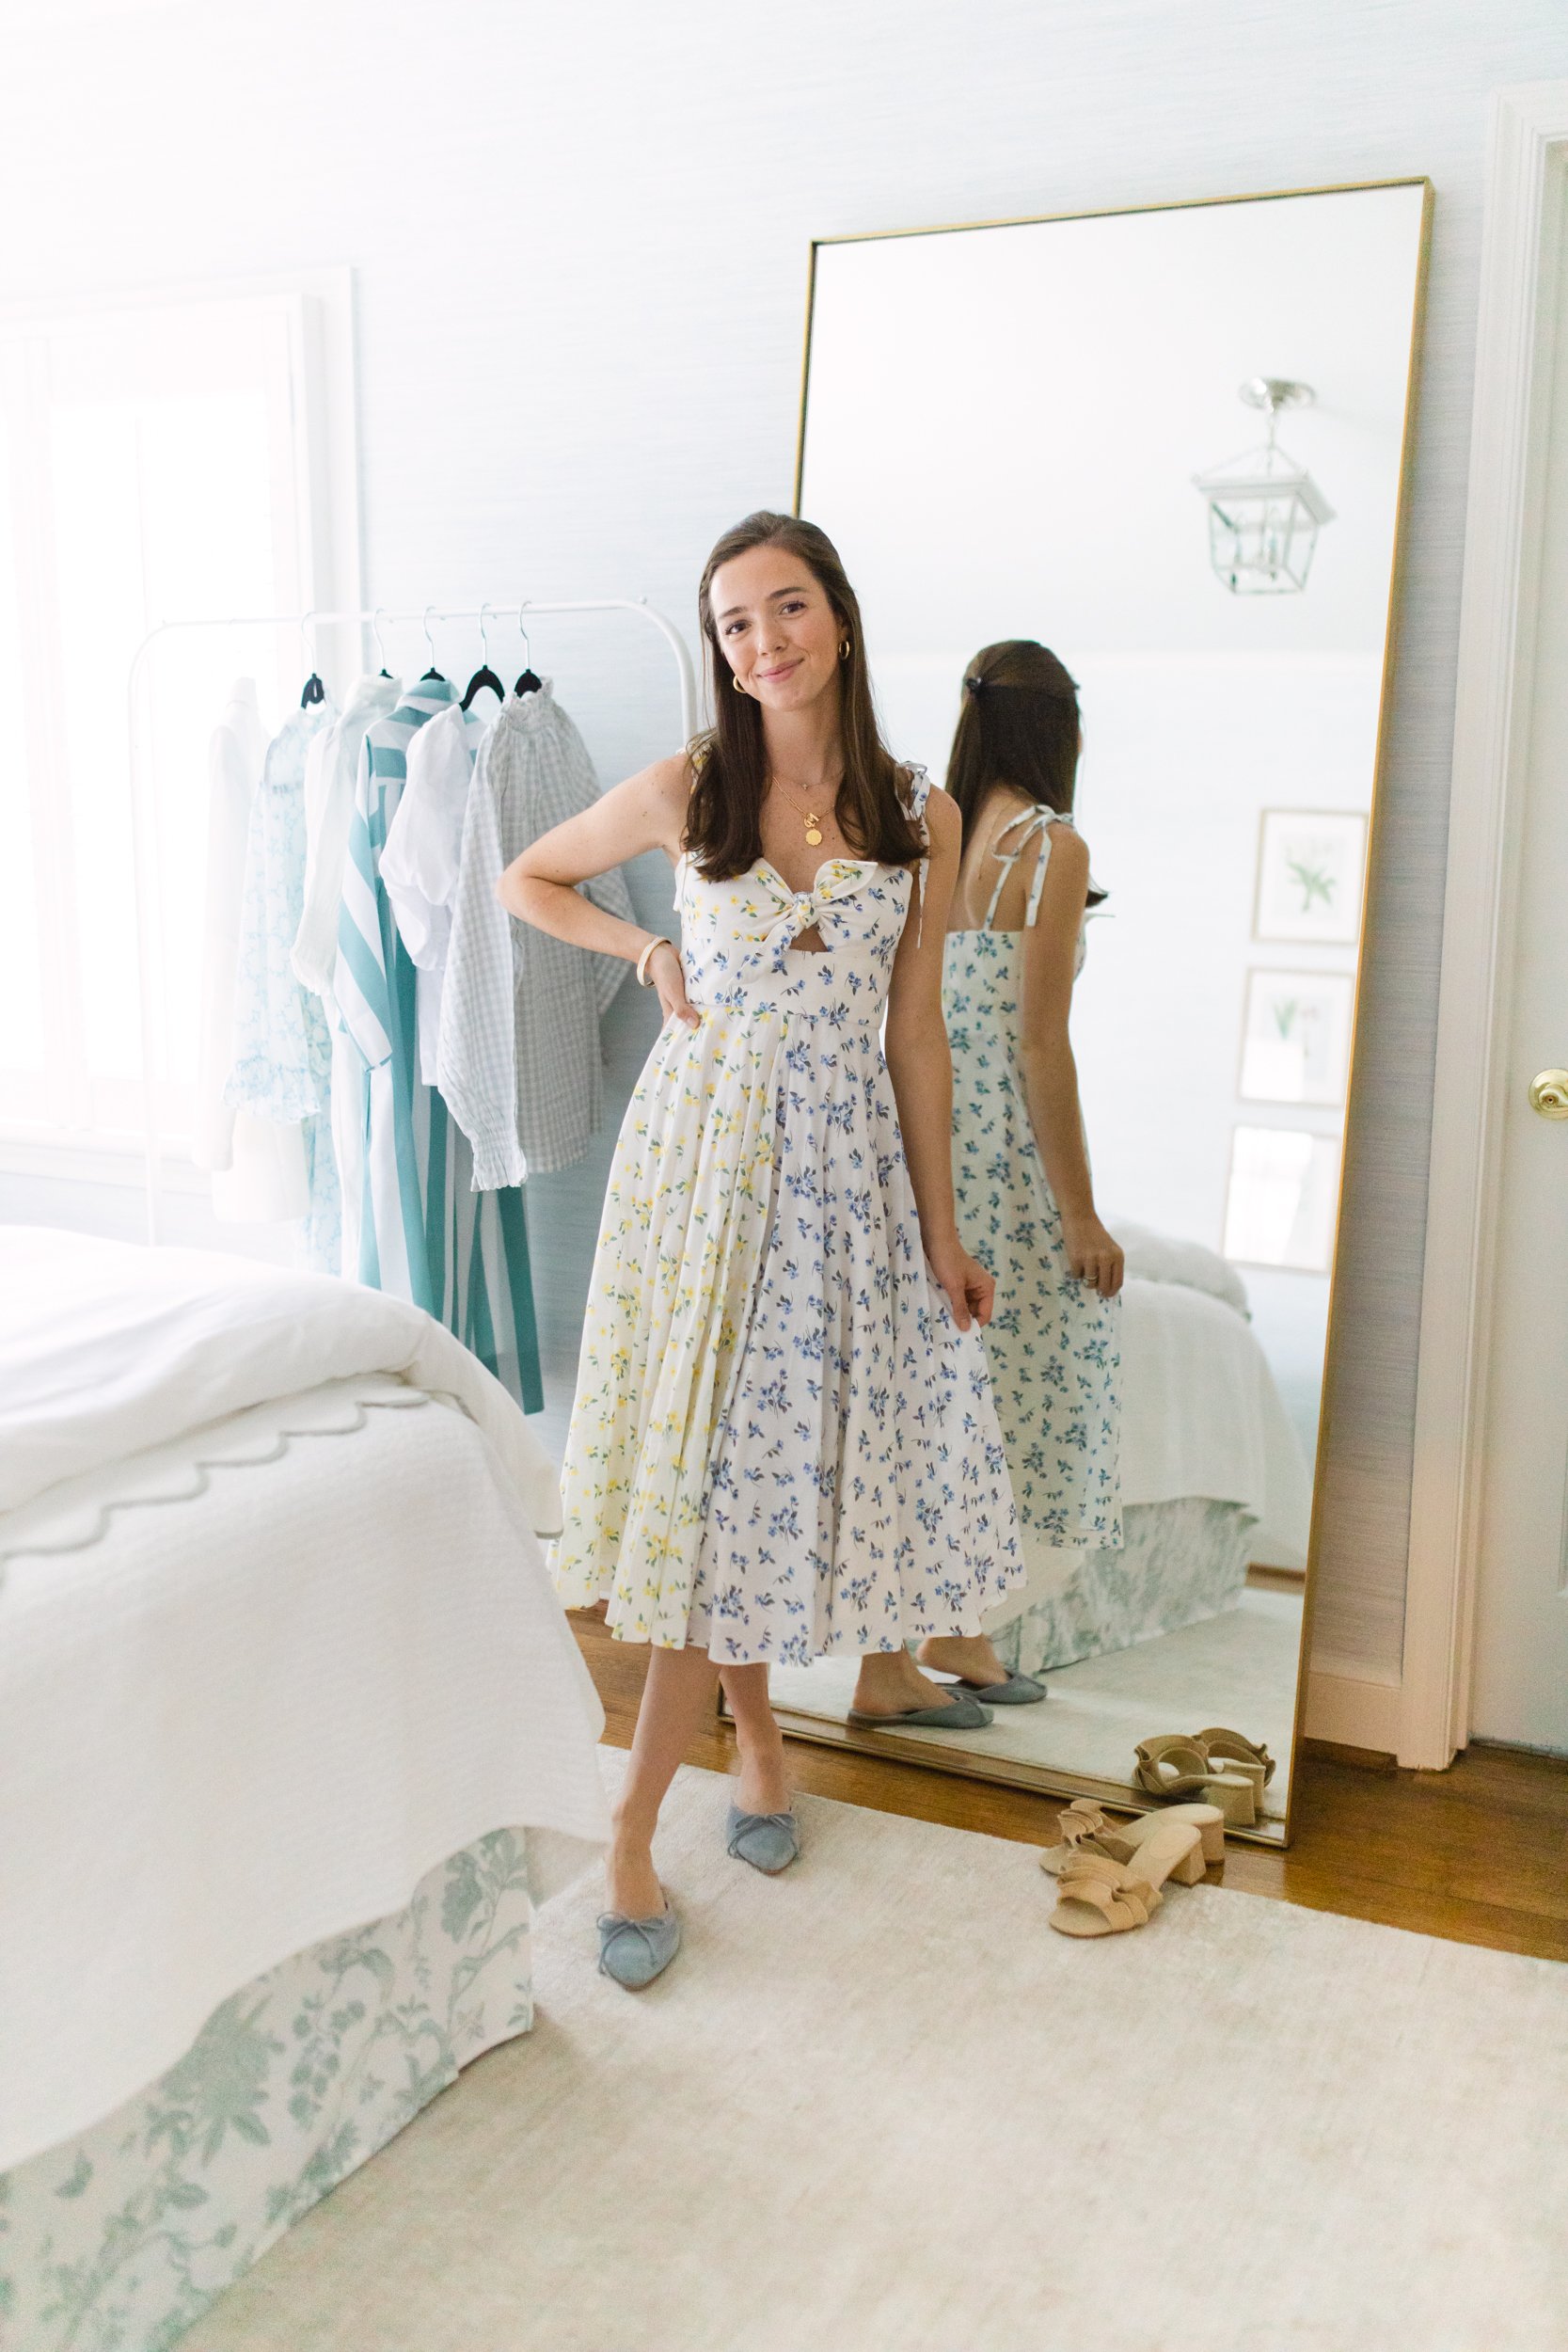
Mirror: Wayfair
Acrylic Chair: Amazon
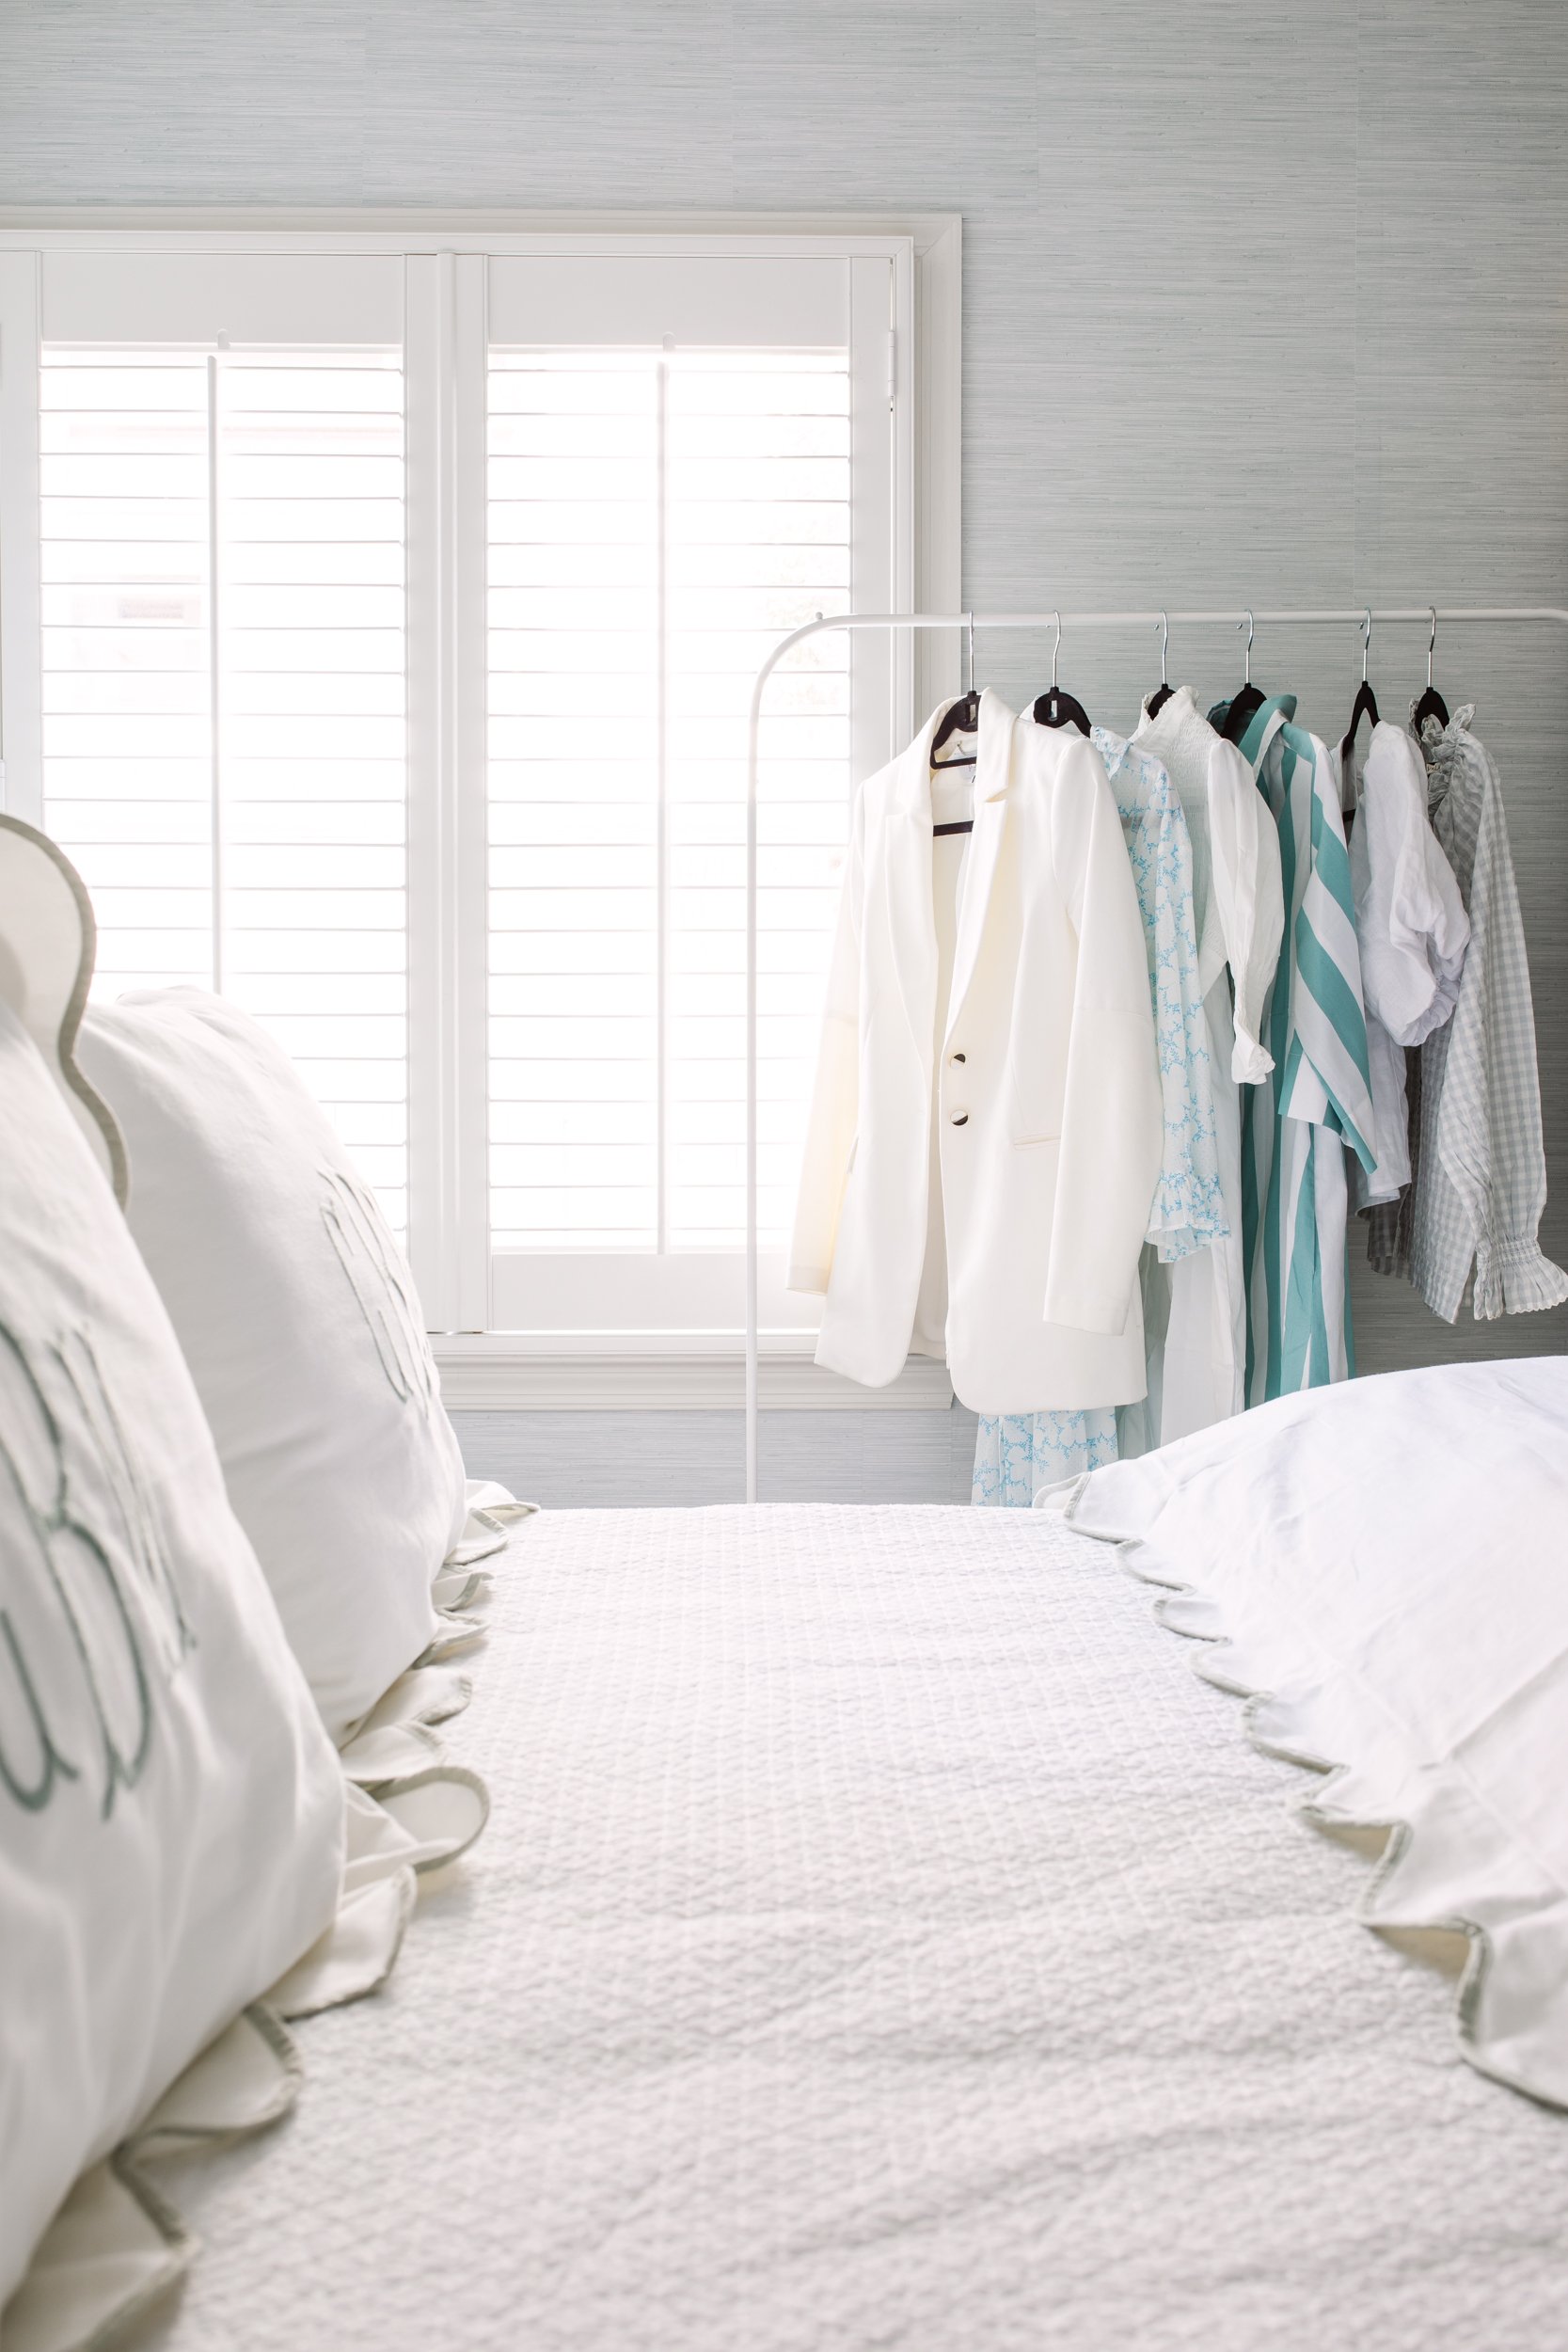
Clothing Rack: Ikea
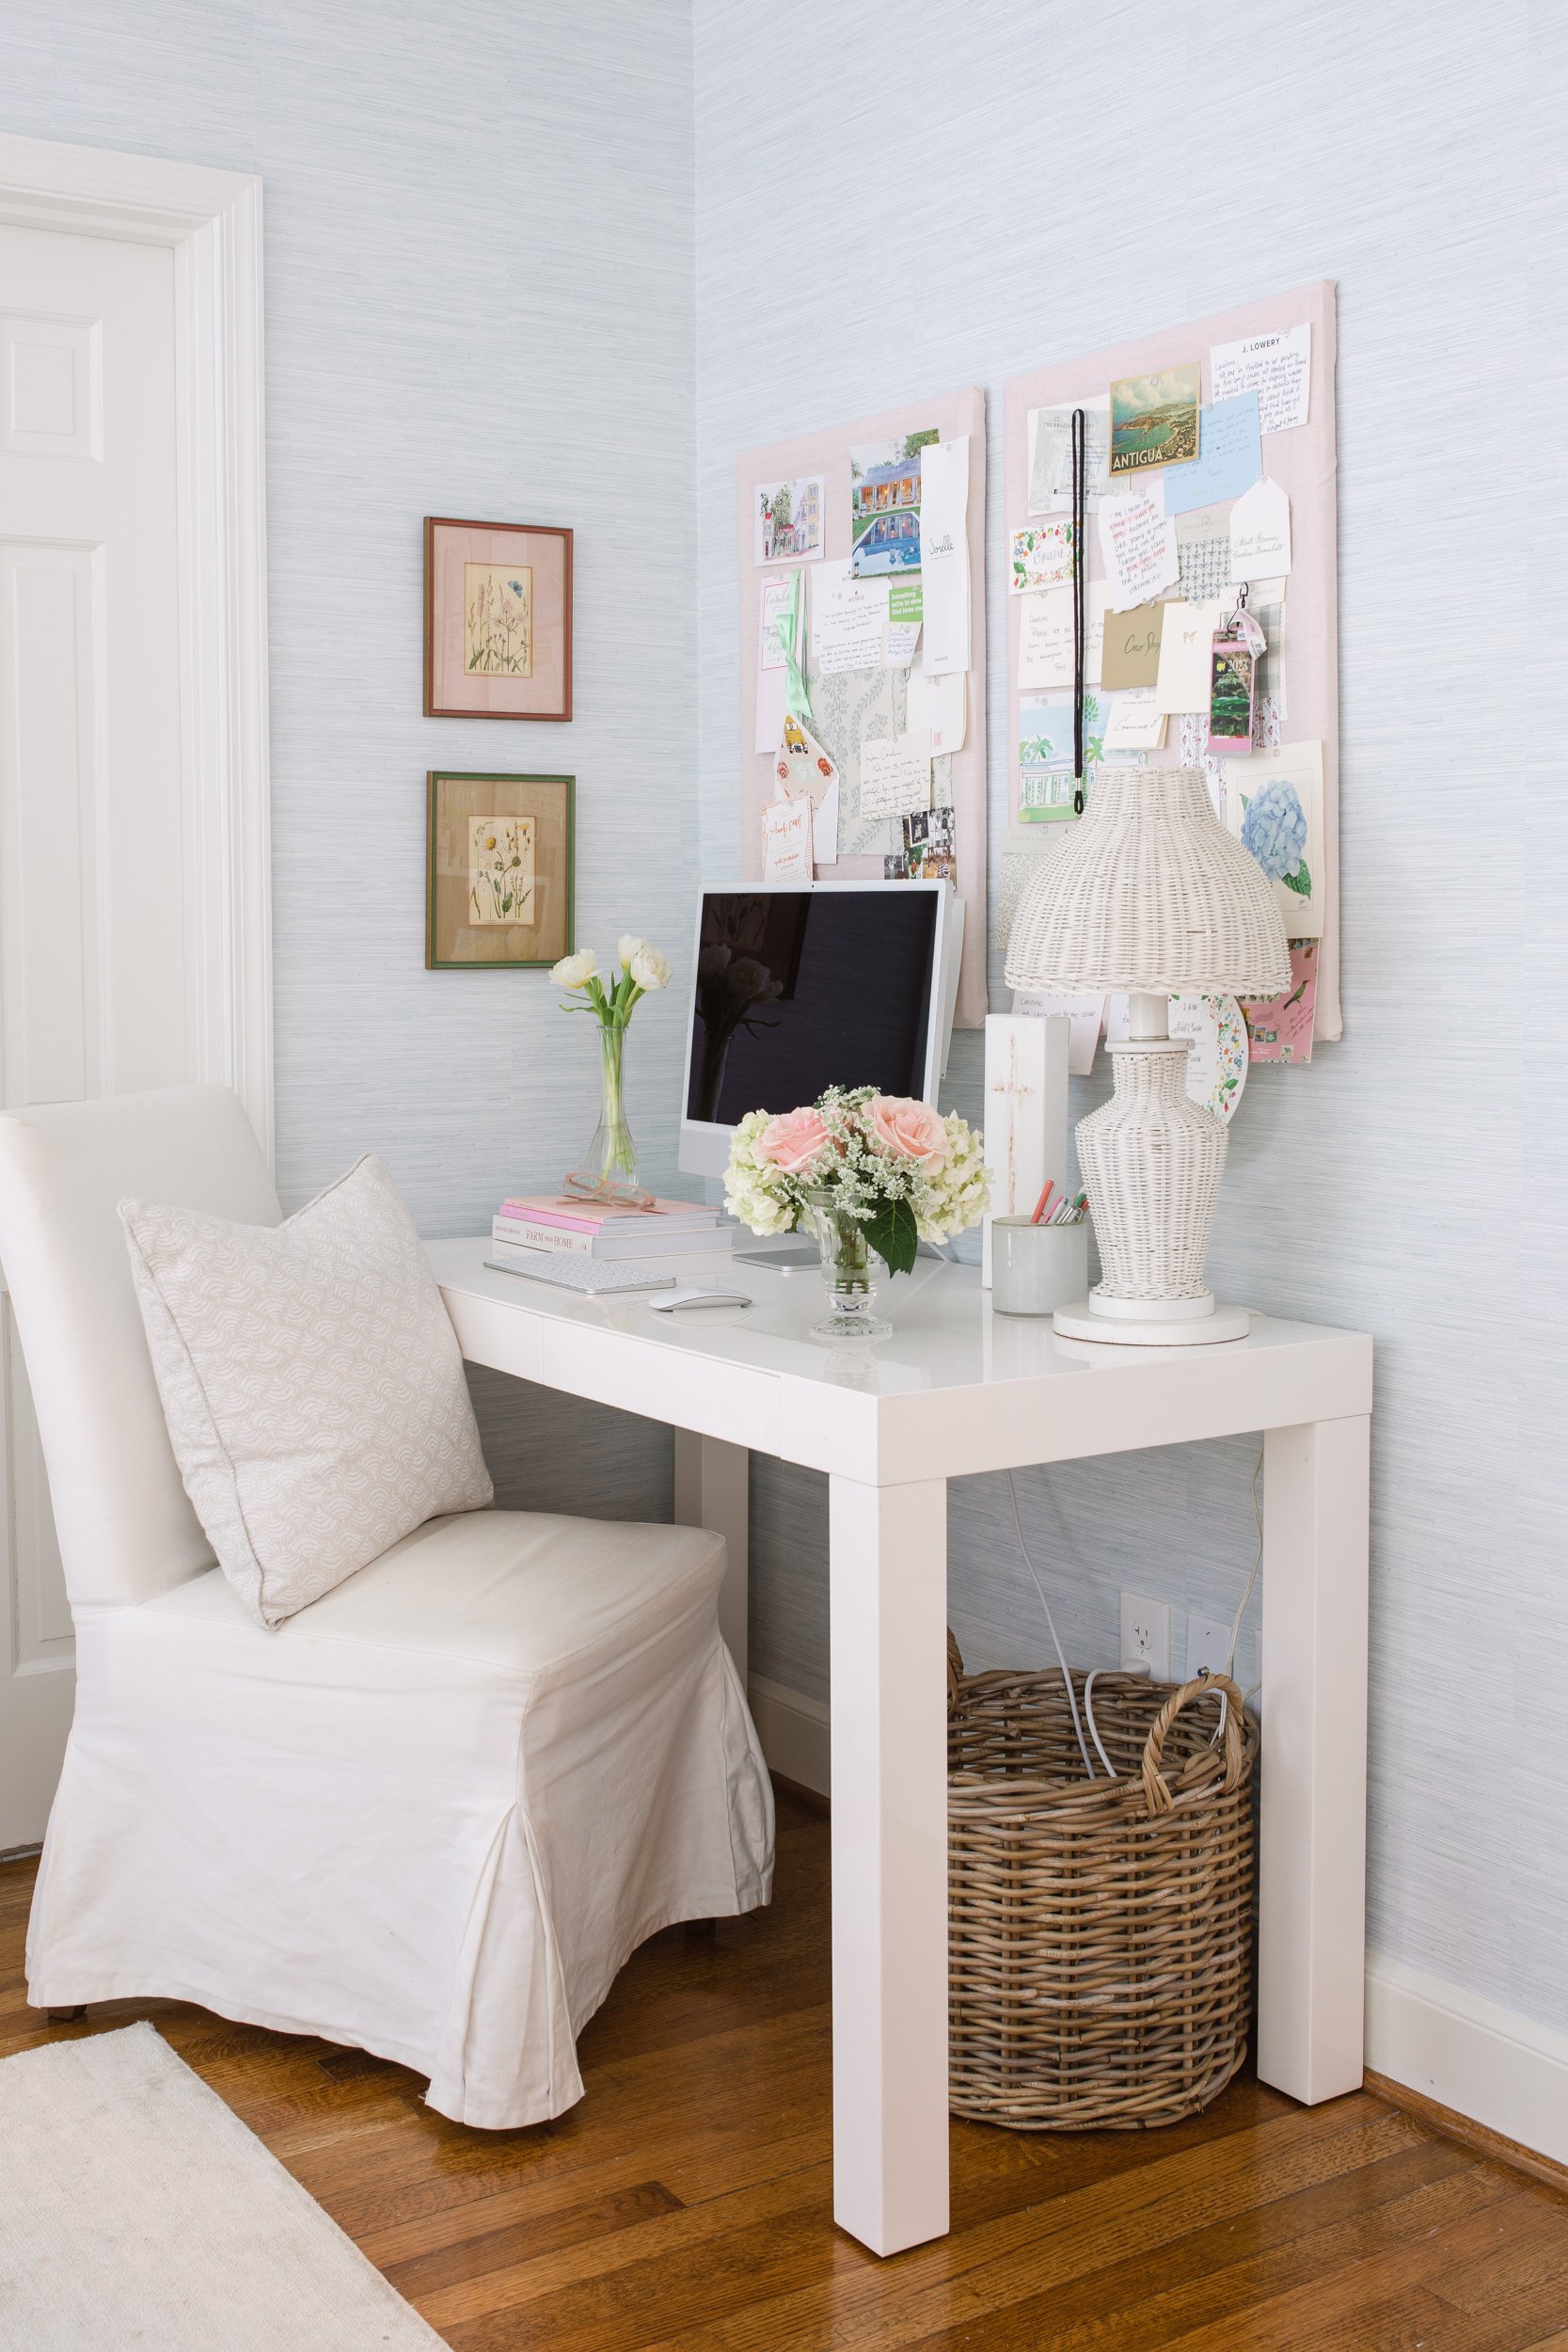
Desk: West Elm
Desk Chair: Ikea (old)
Desk Chair Pillow: Walter G (similar)
Desk Lamp: The Nest Birmingham (similar)
Bulletin Boards: these cork boards covered with pink linen remnant fabric
Small Botanicals by Desk: The Church Mouse Palm Beach
Cross Art: Allison Brown from Amano
SHOP
